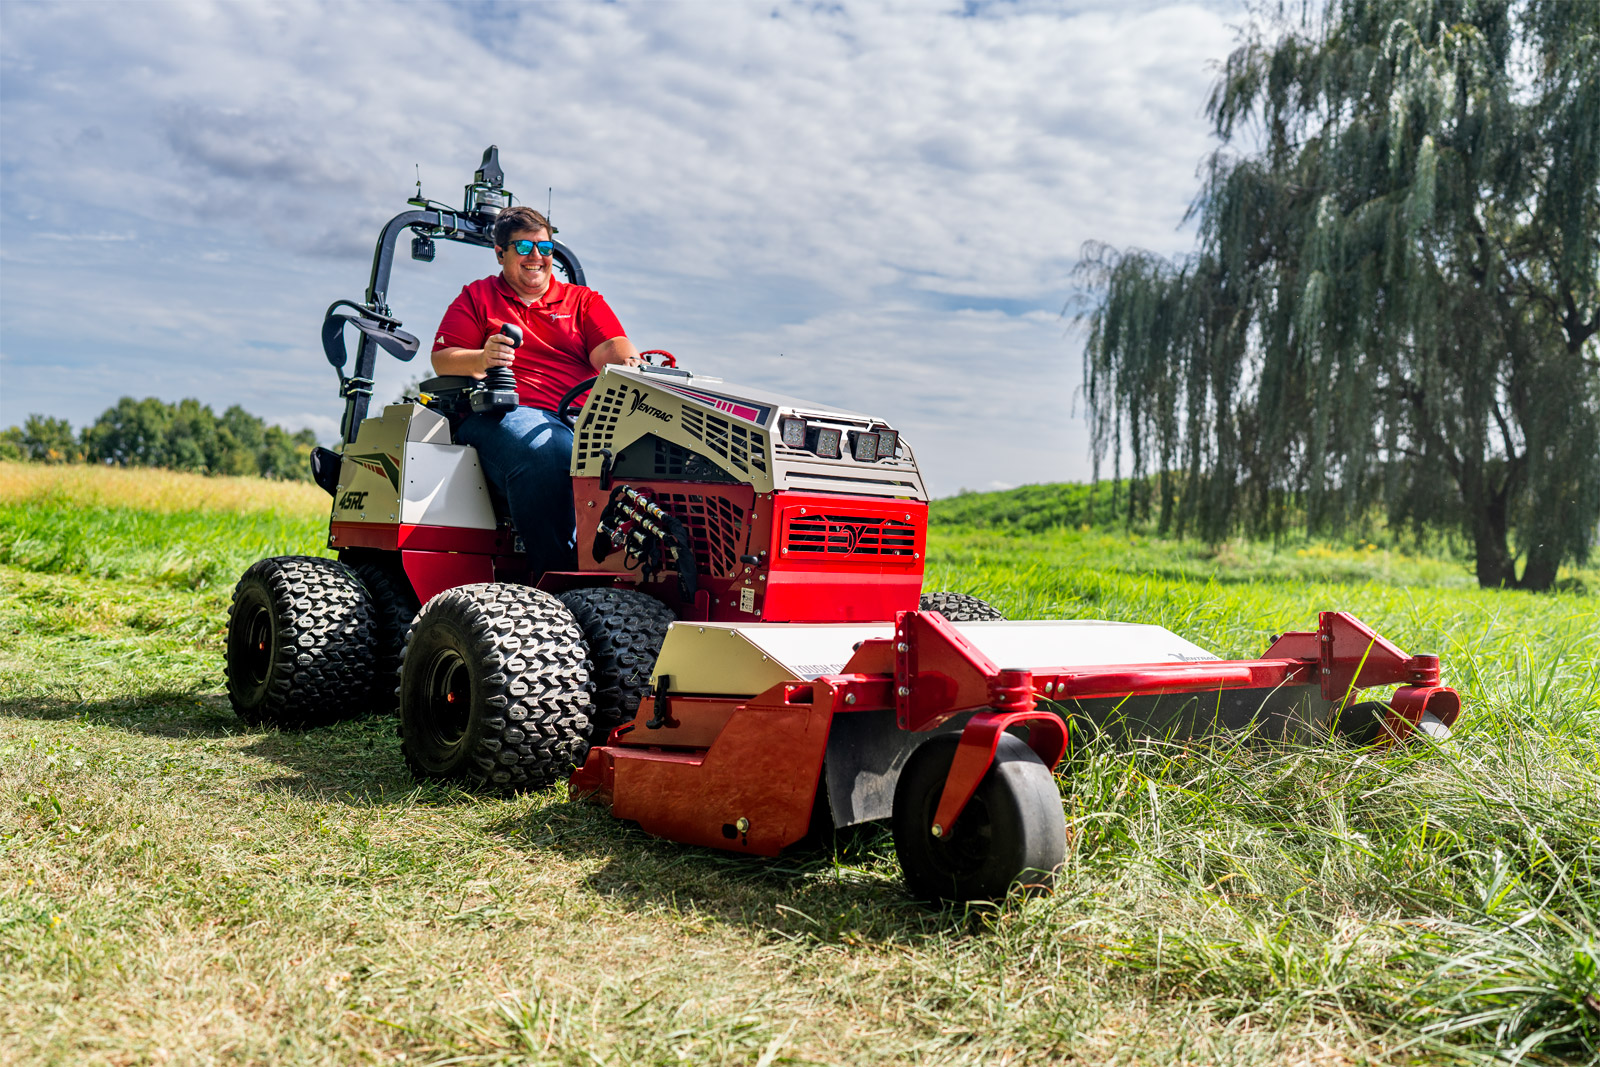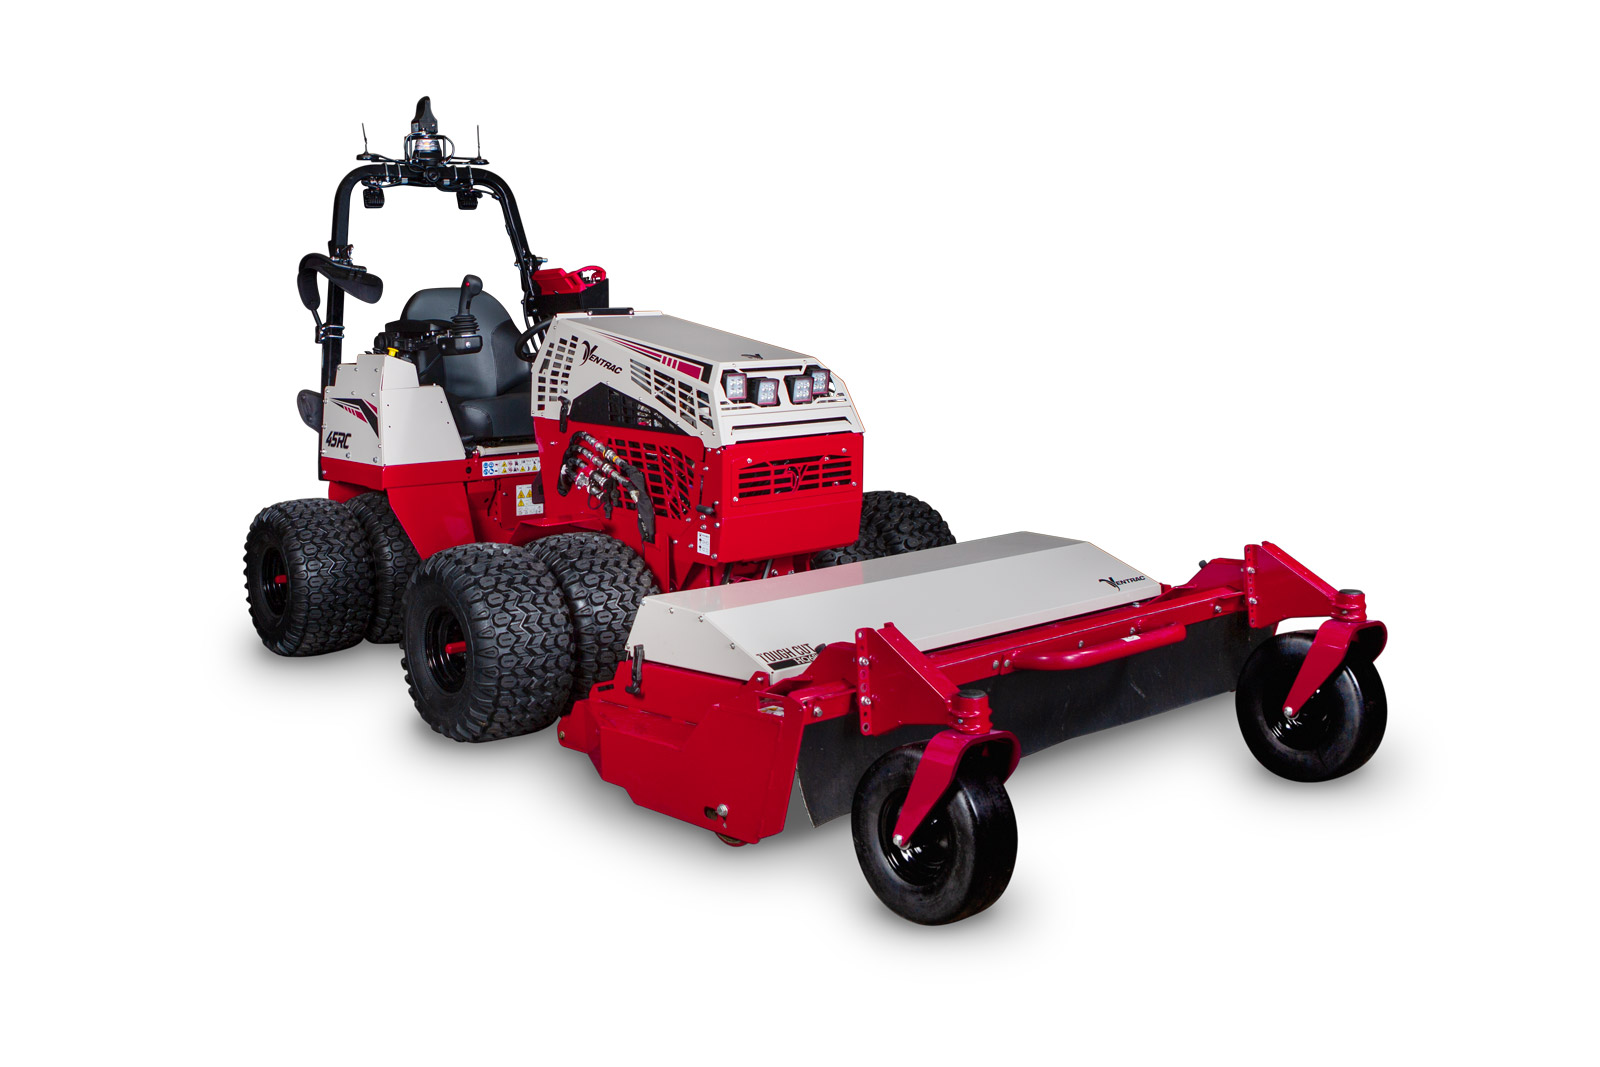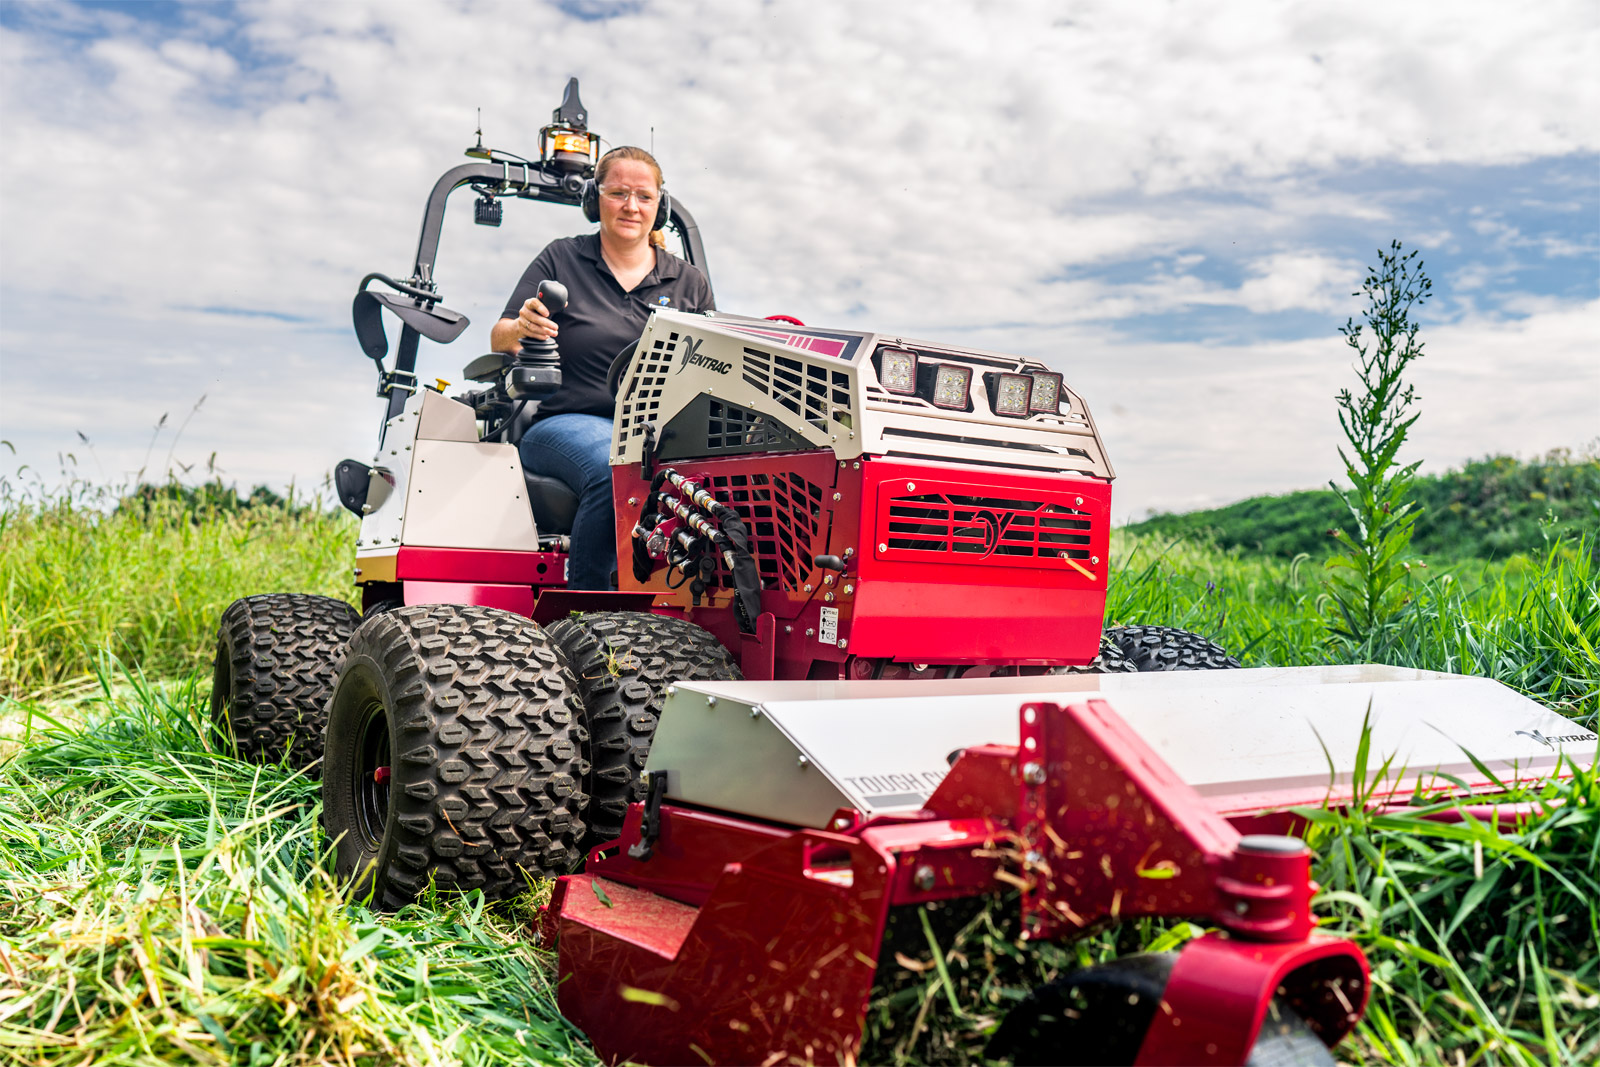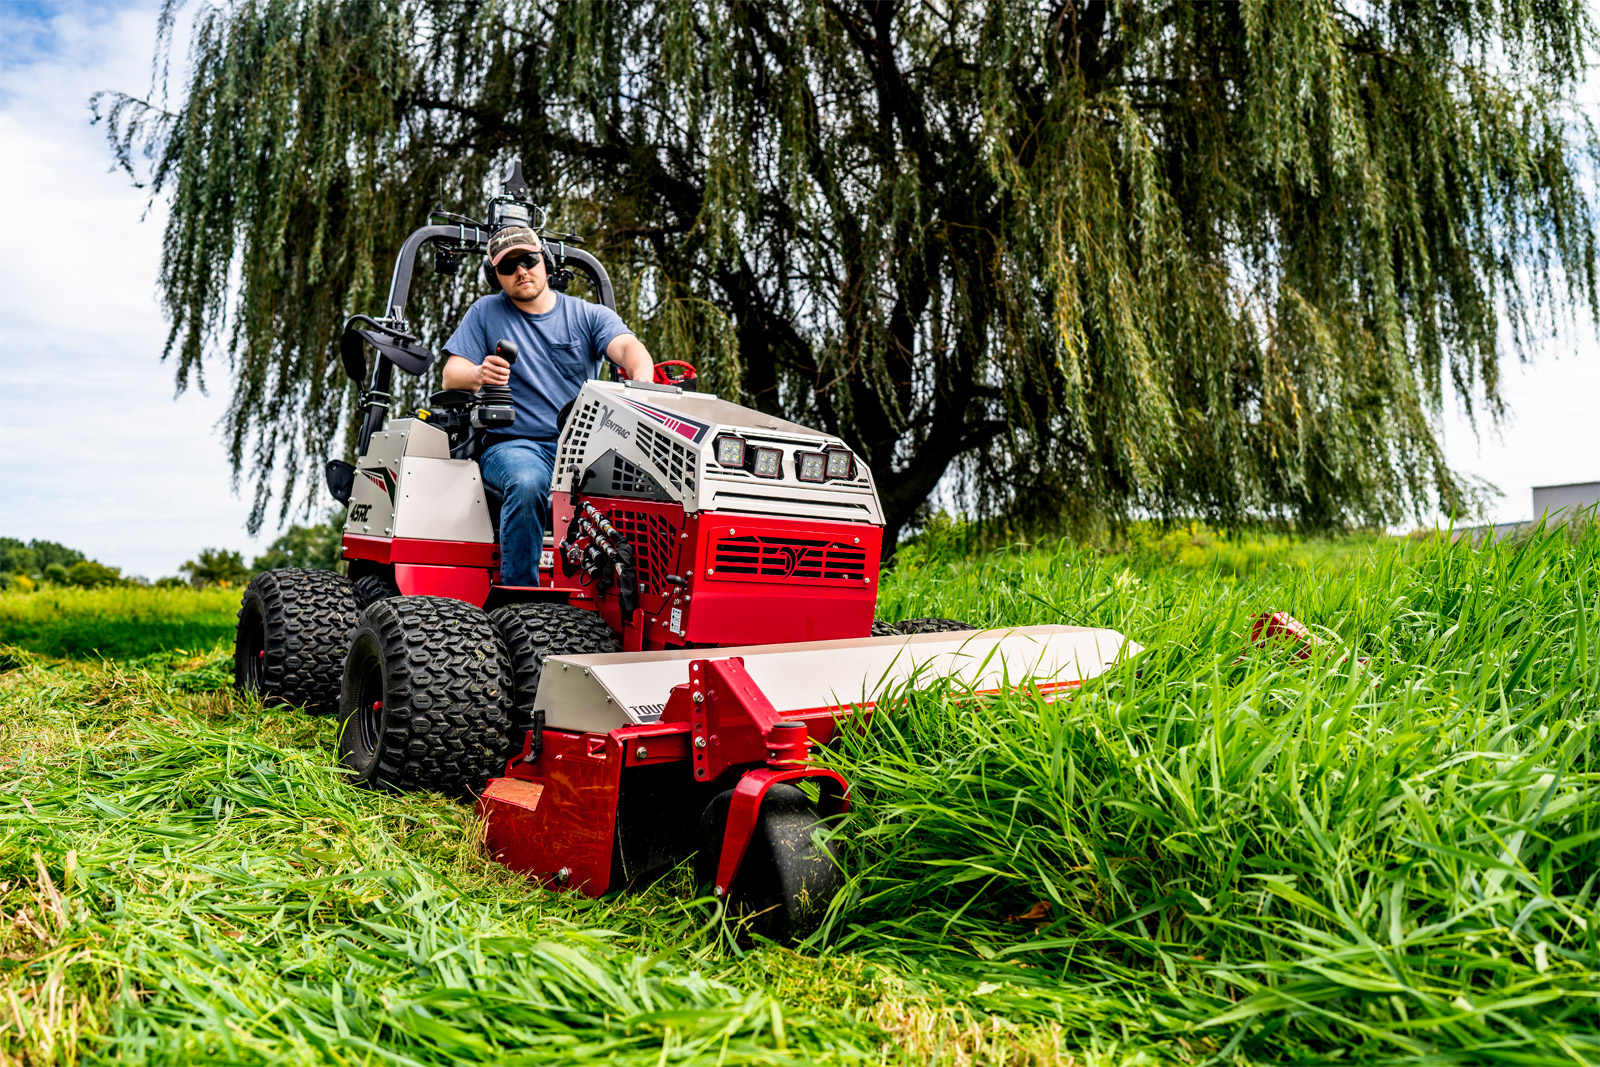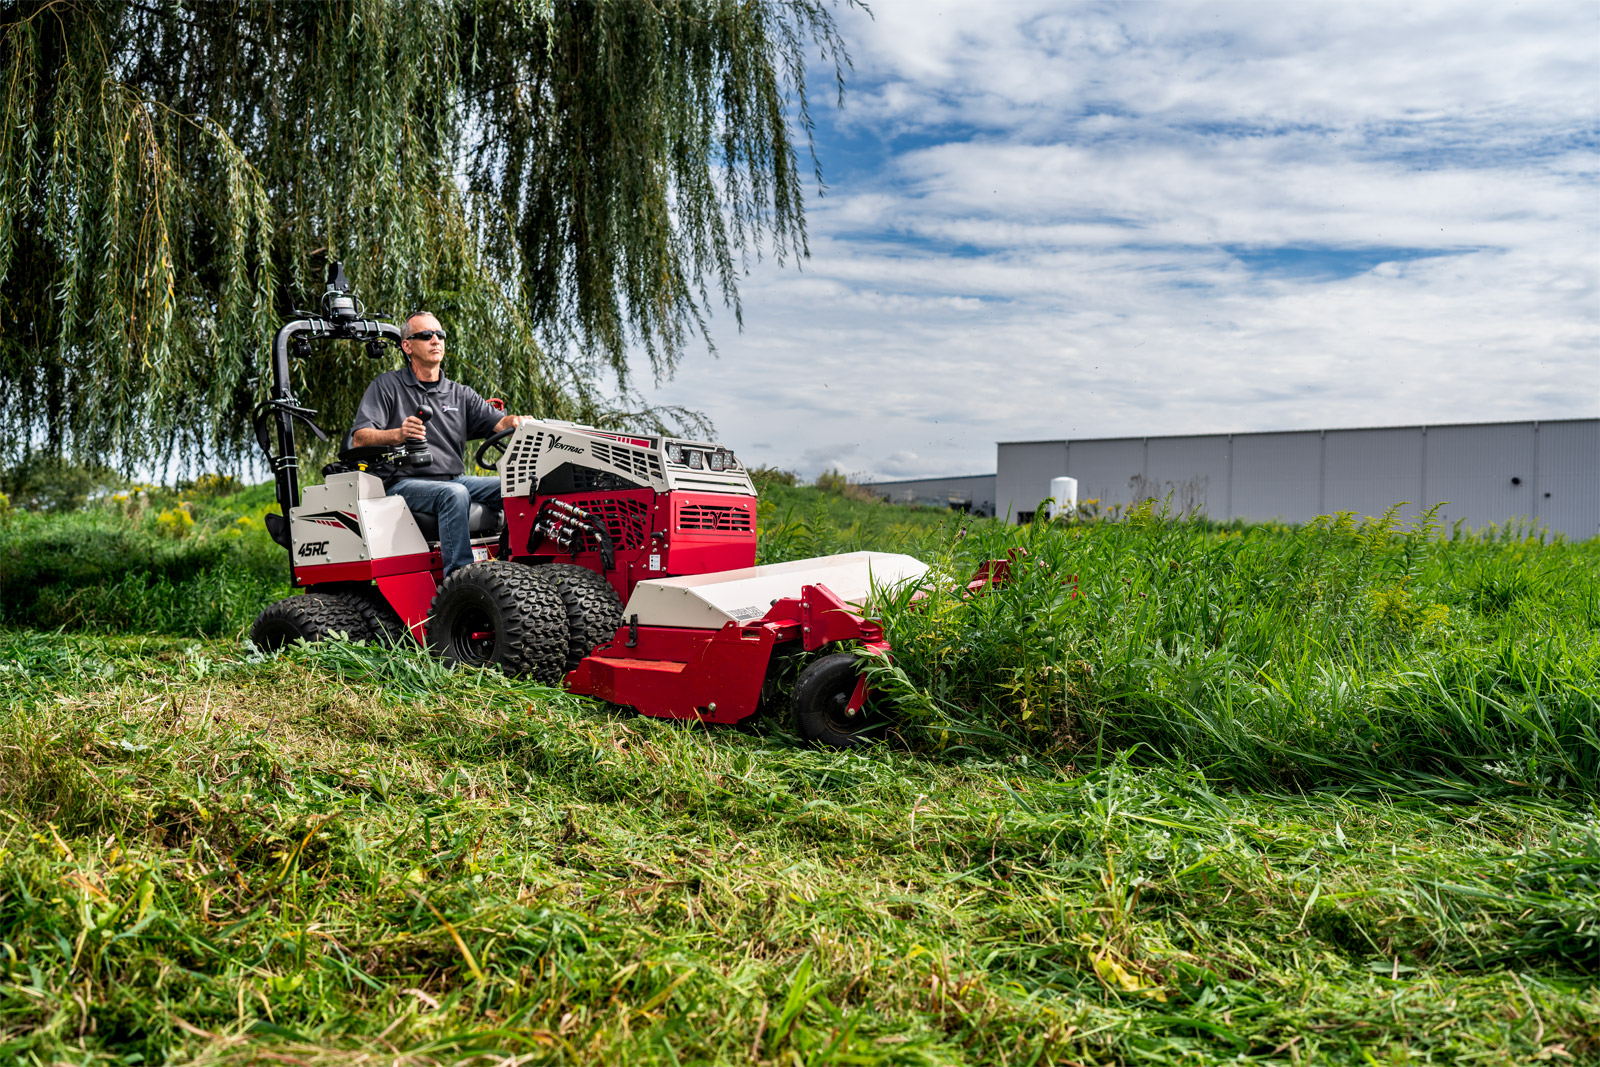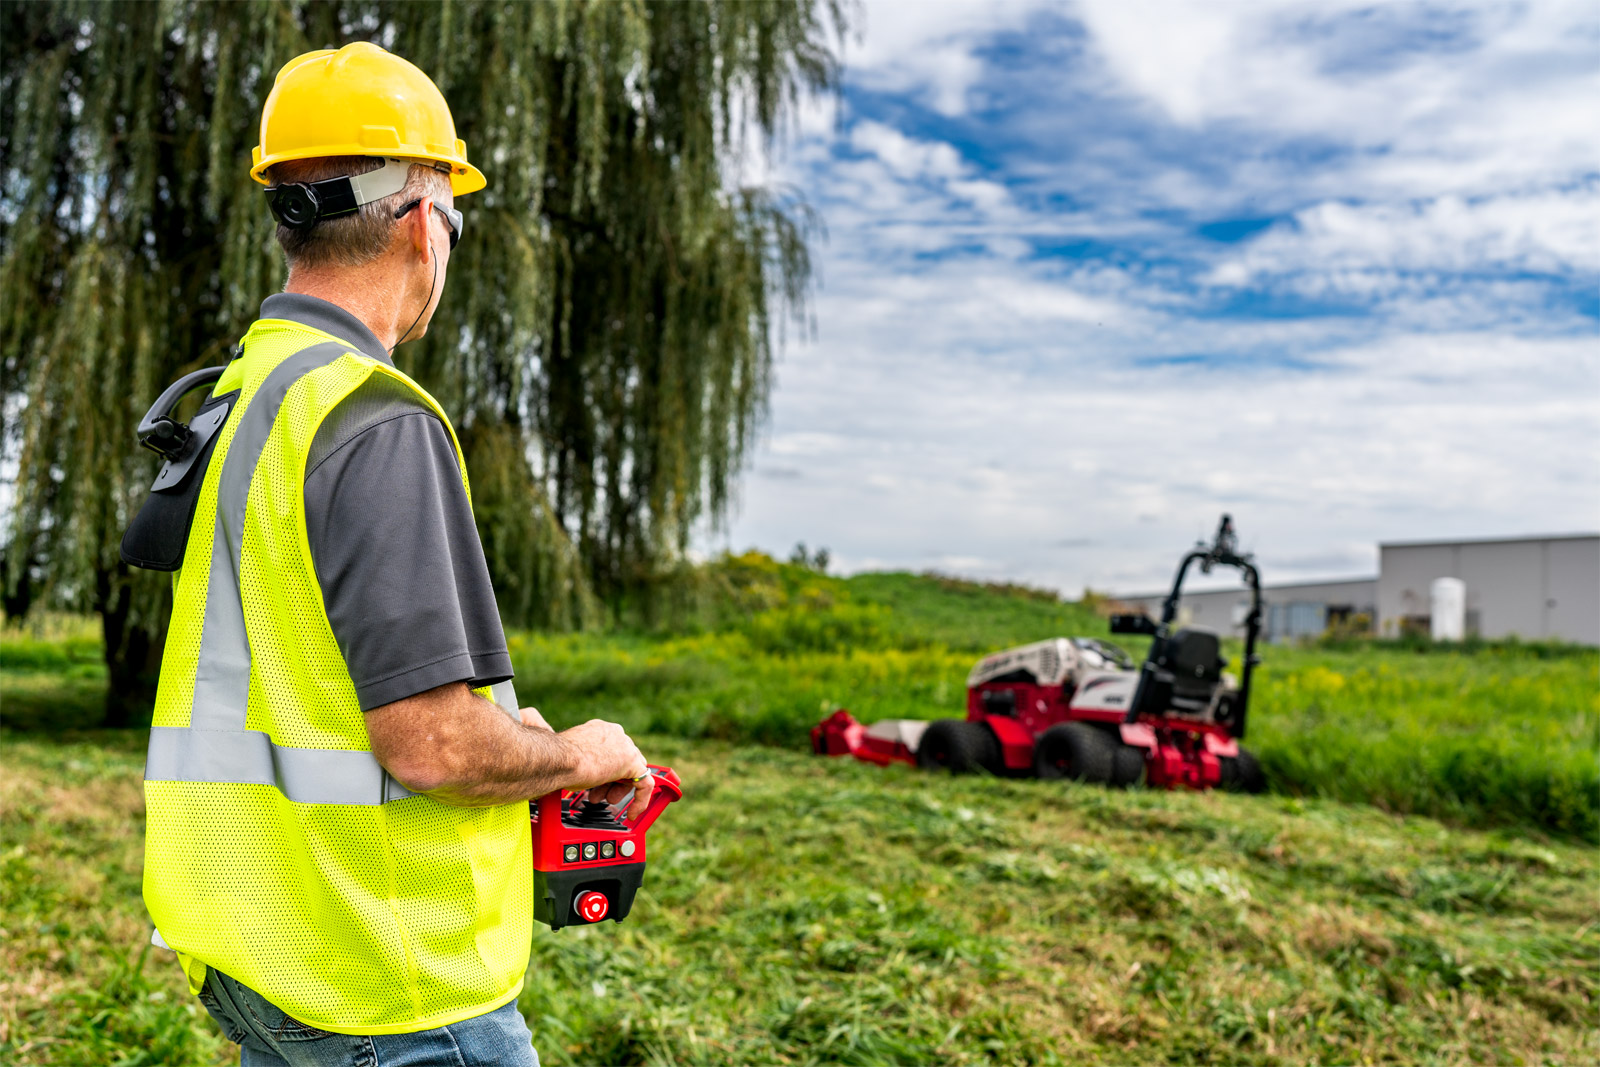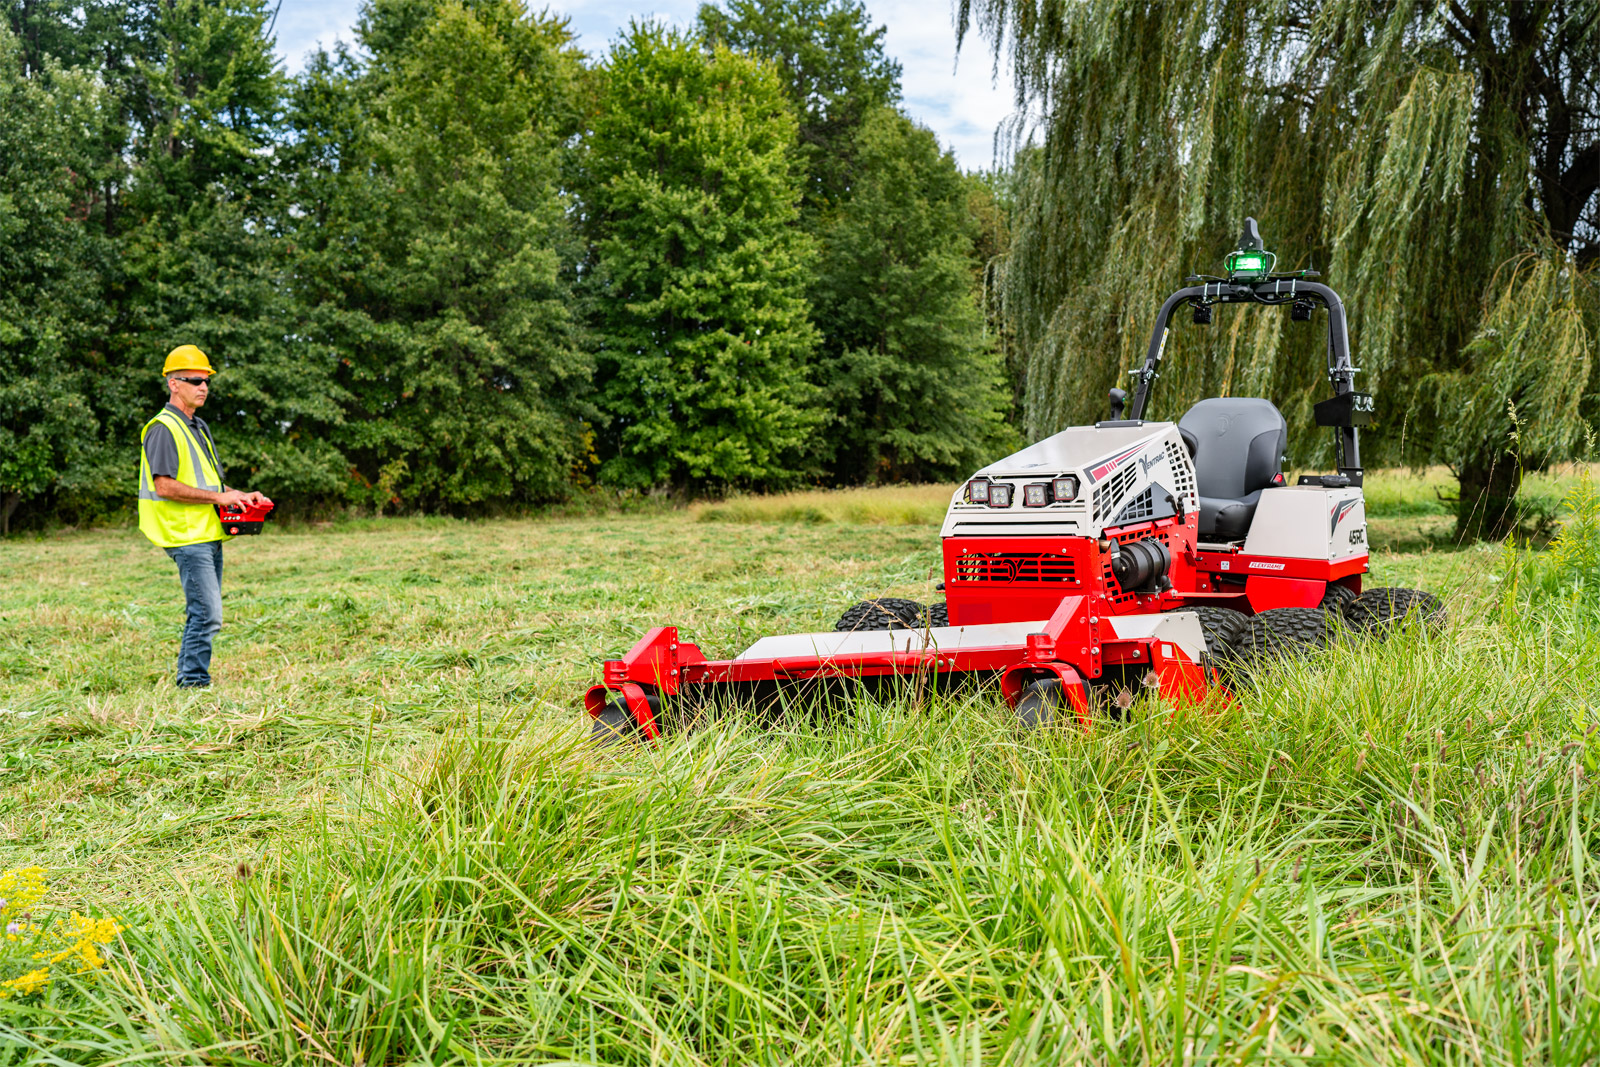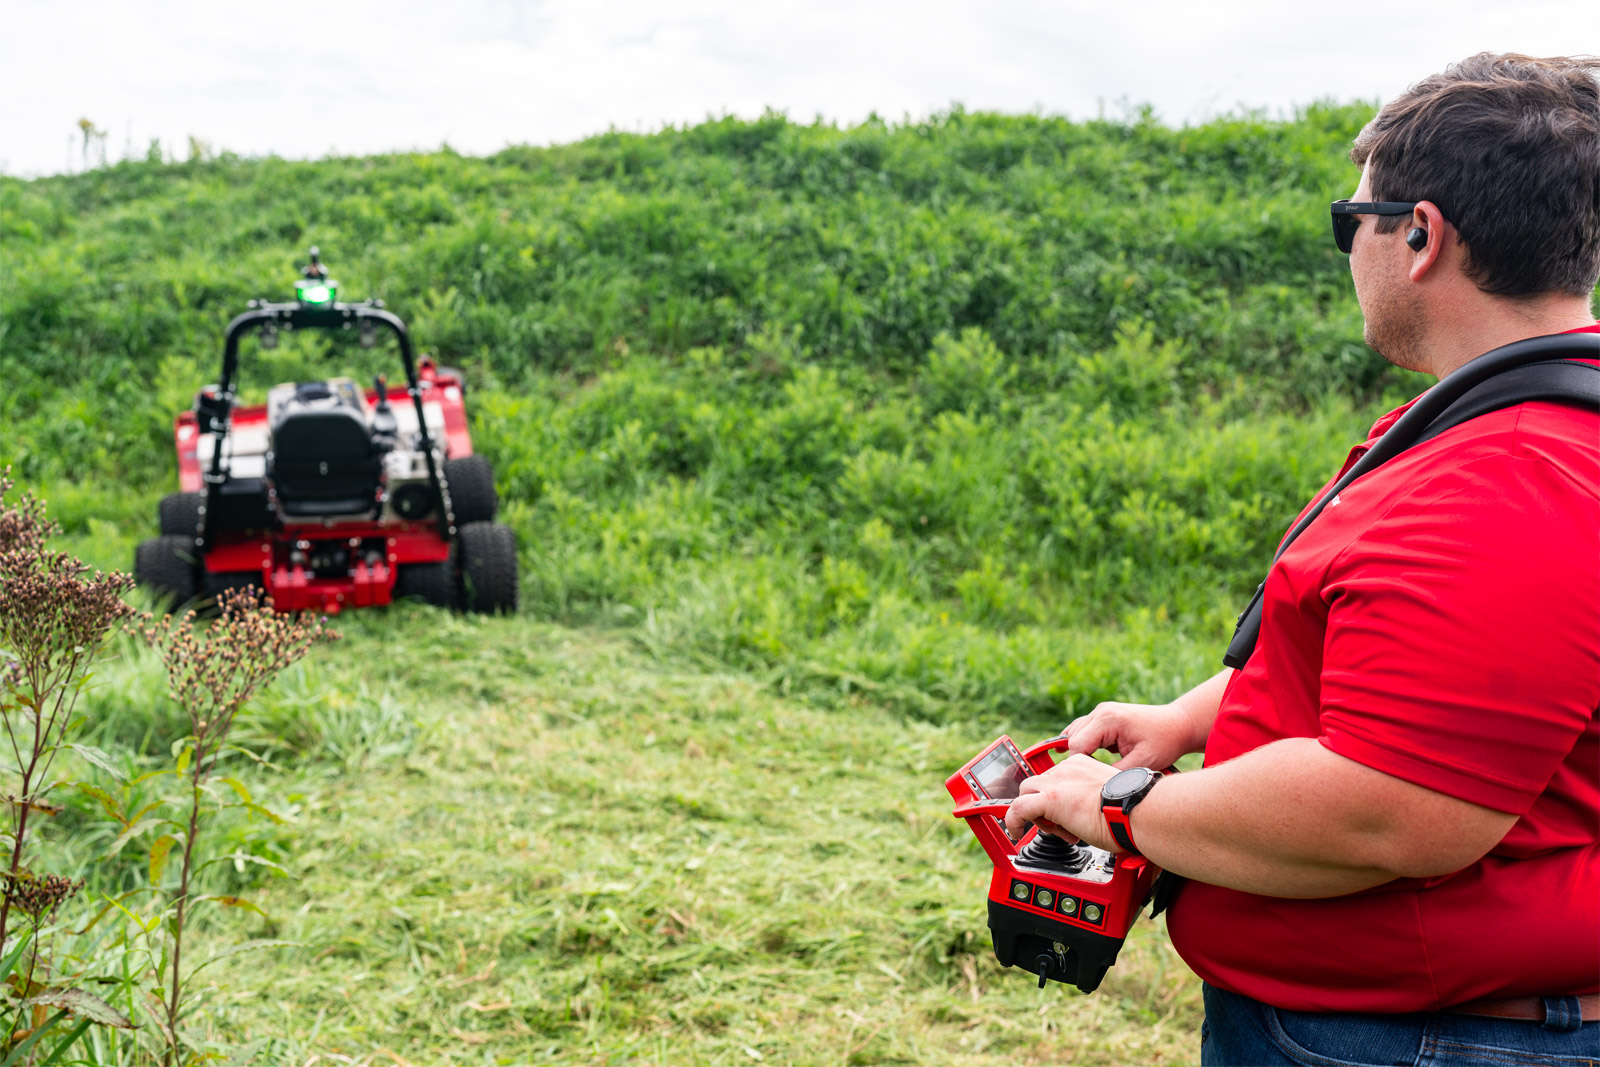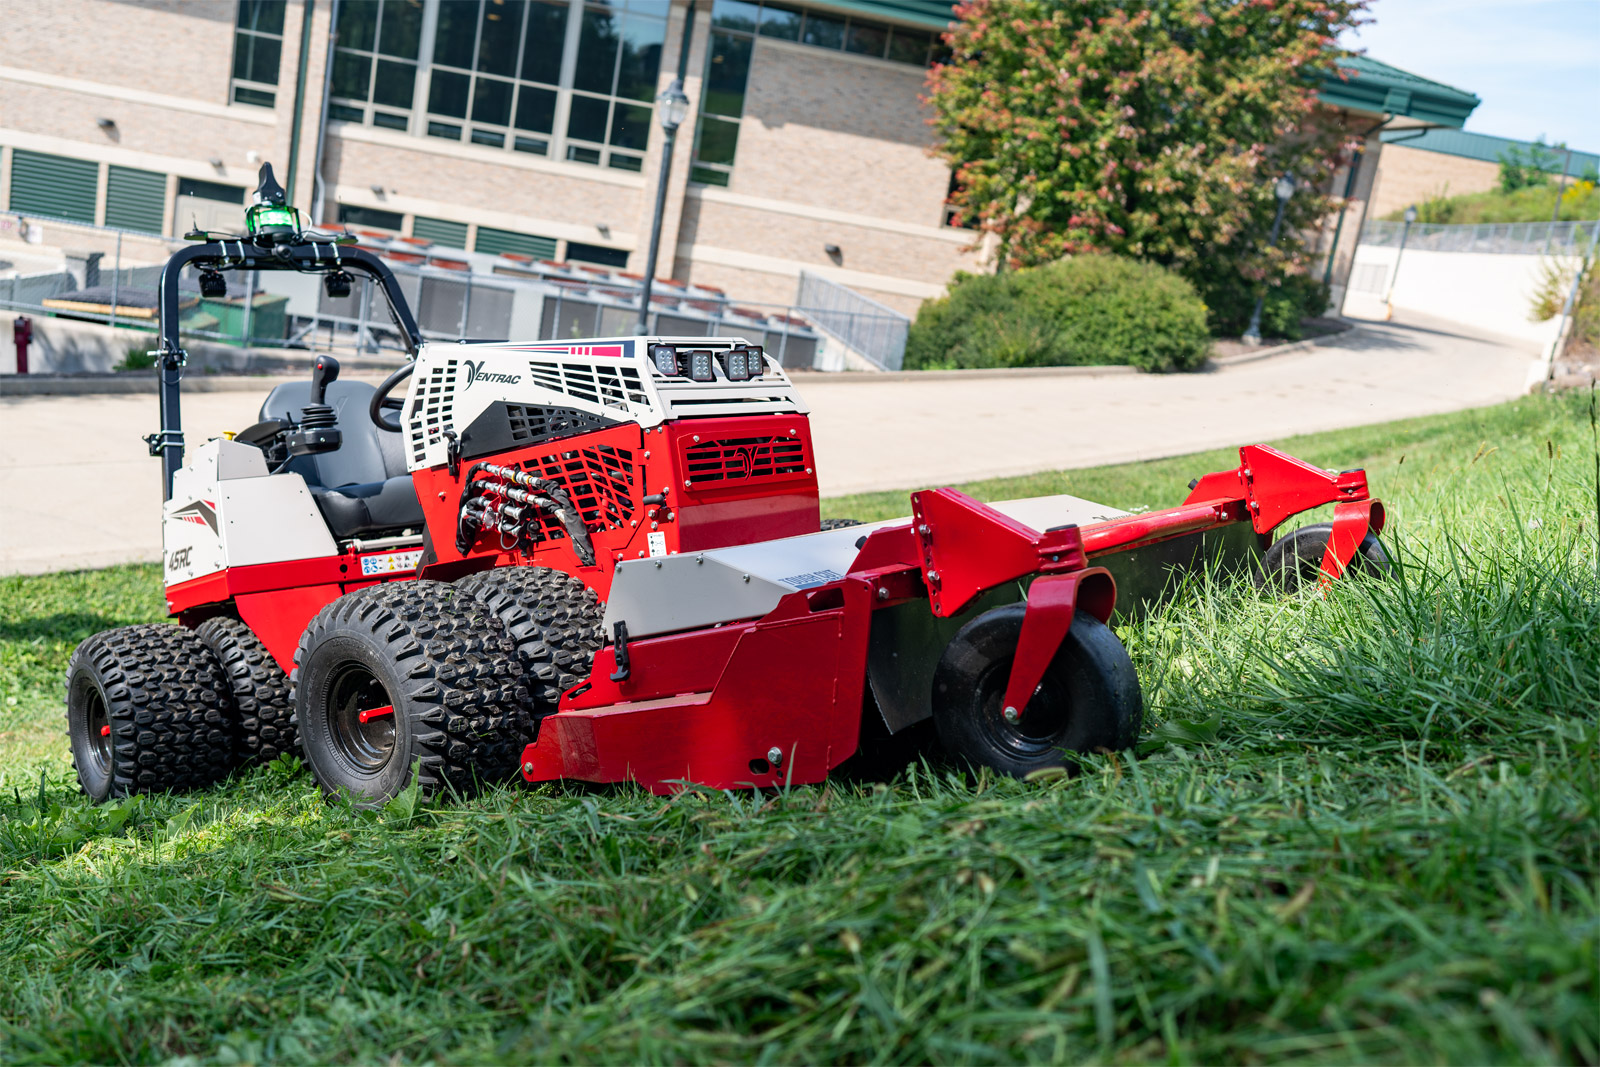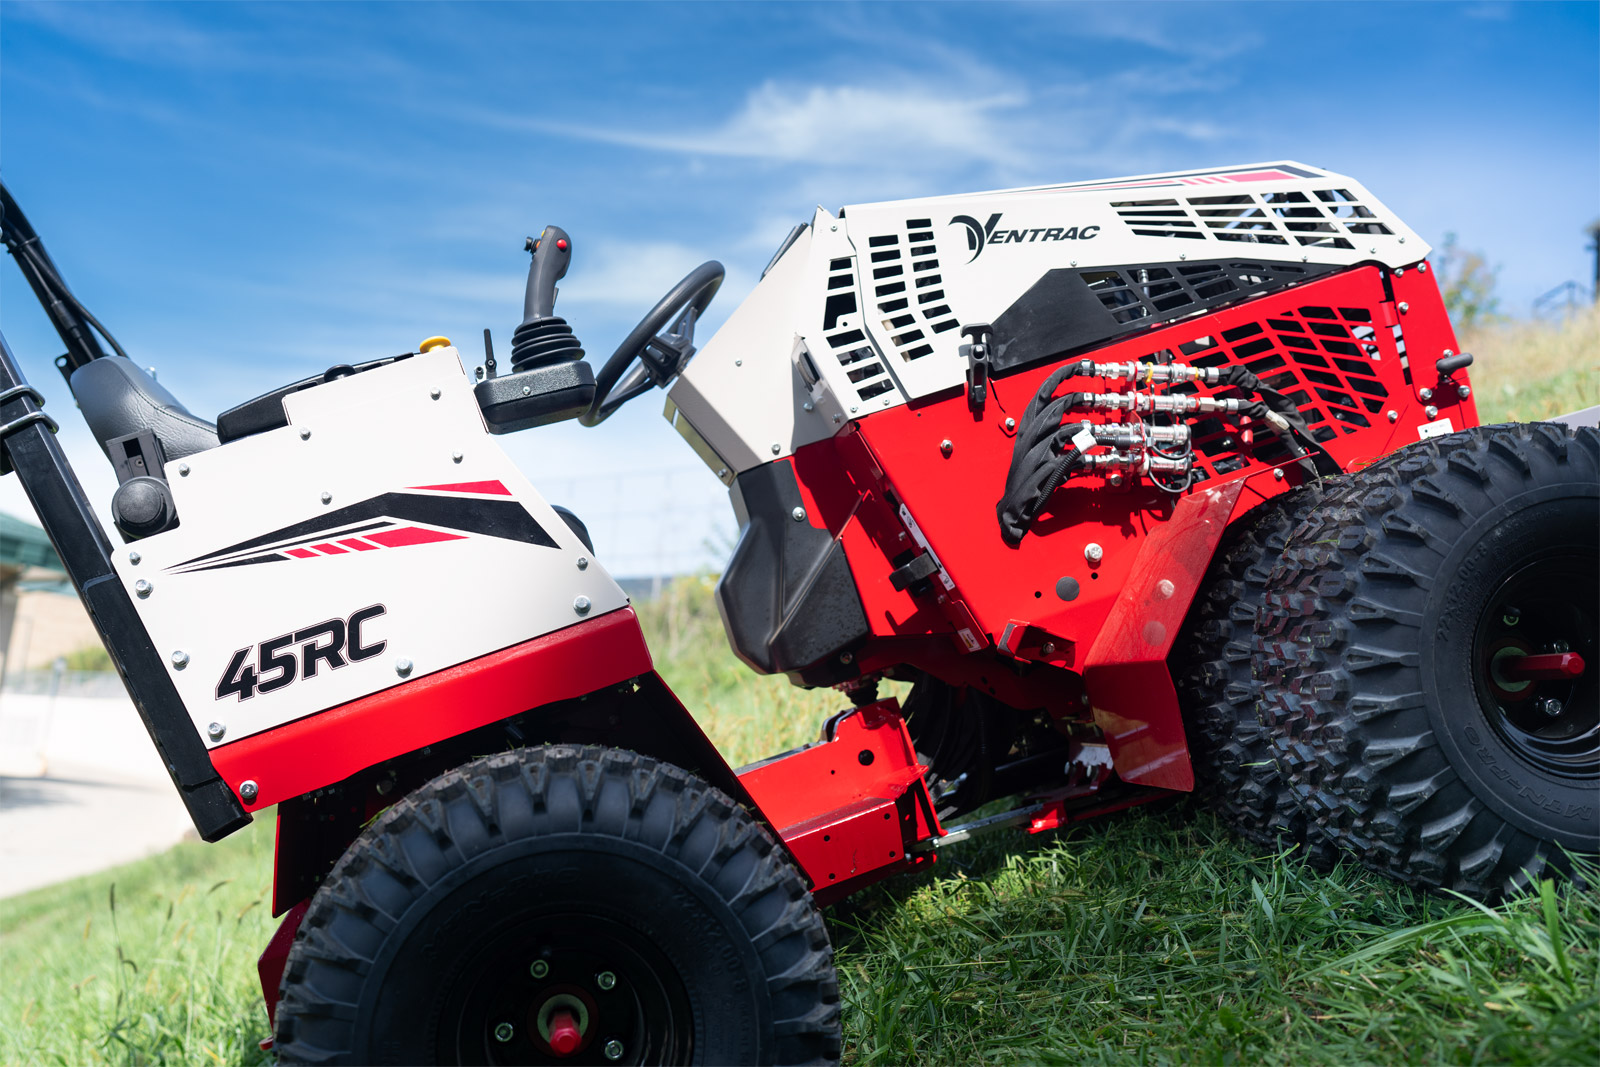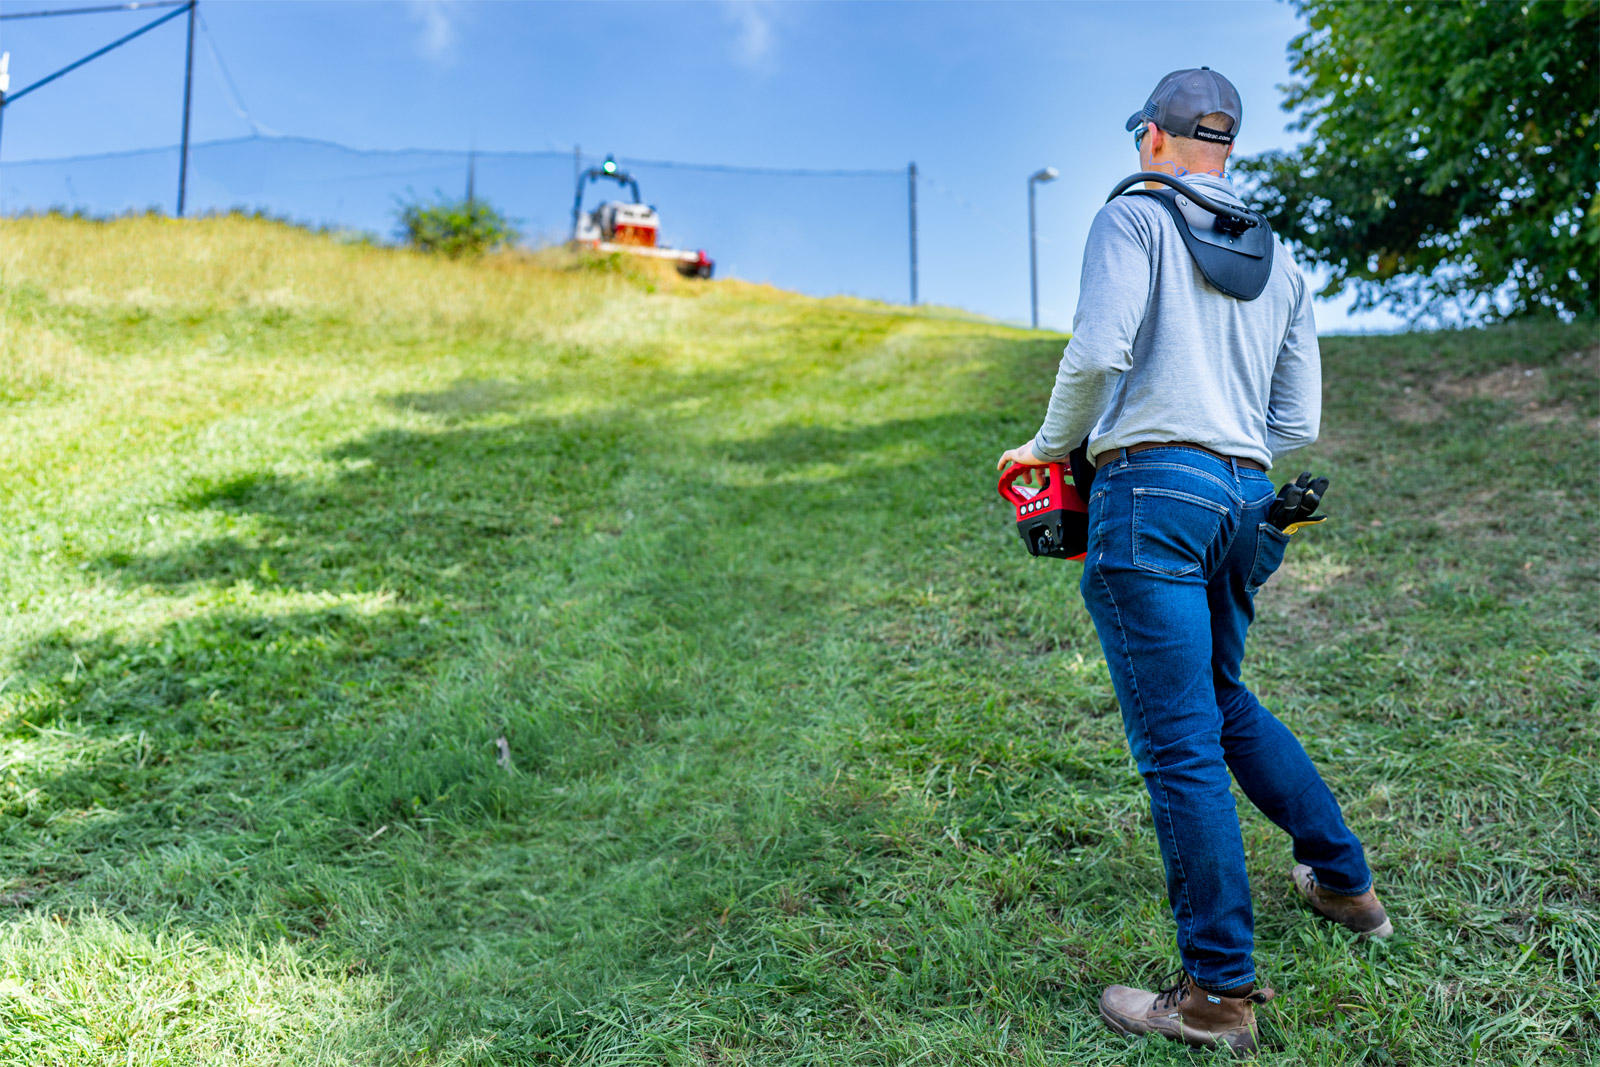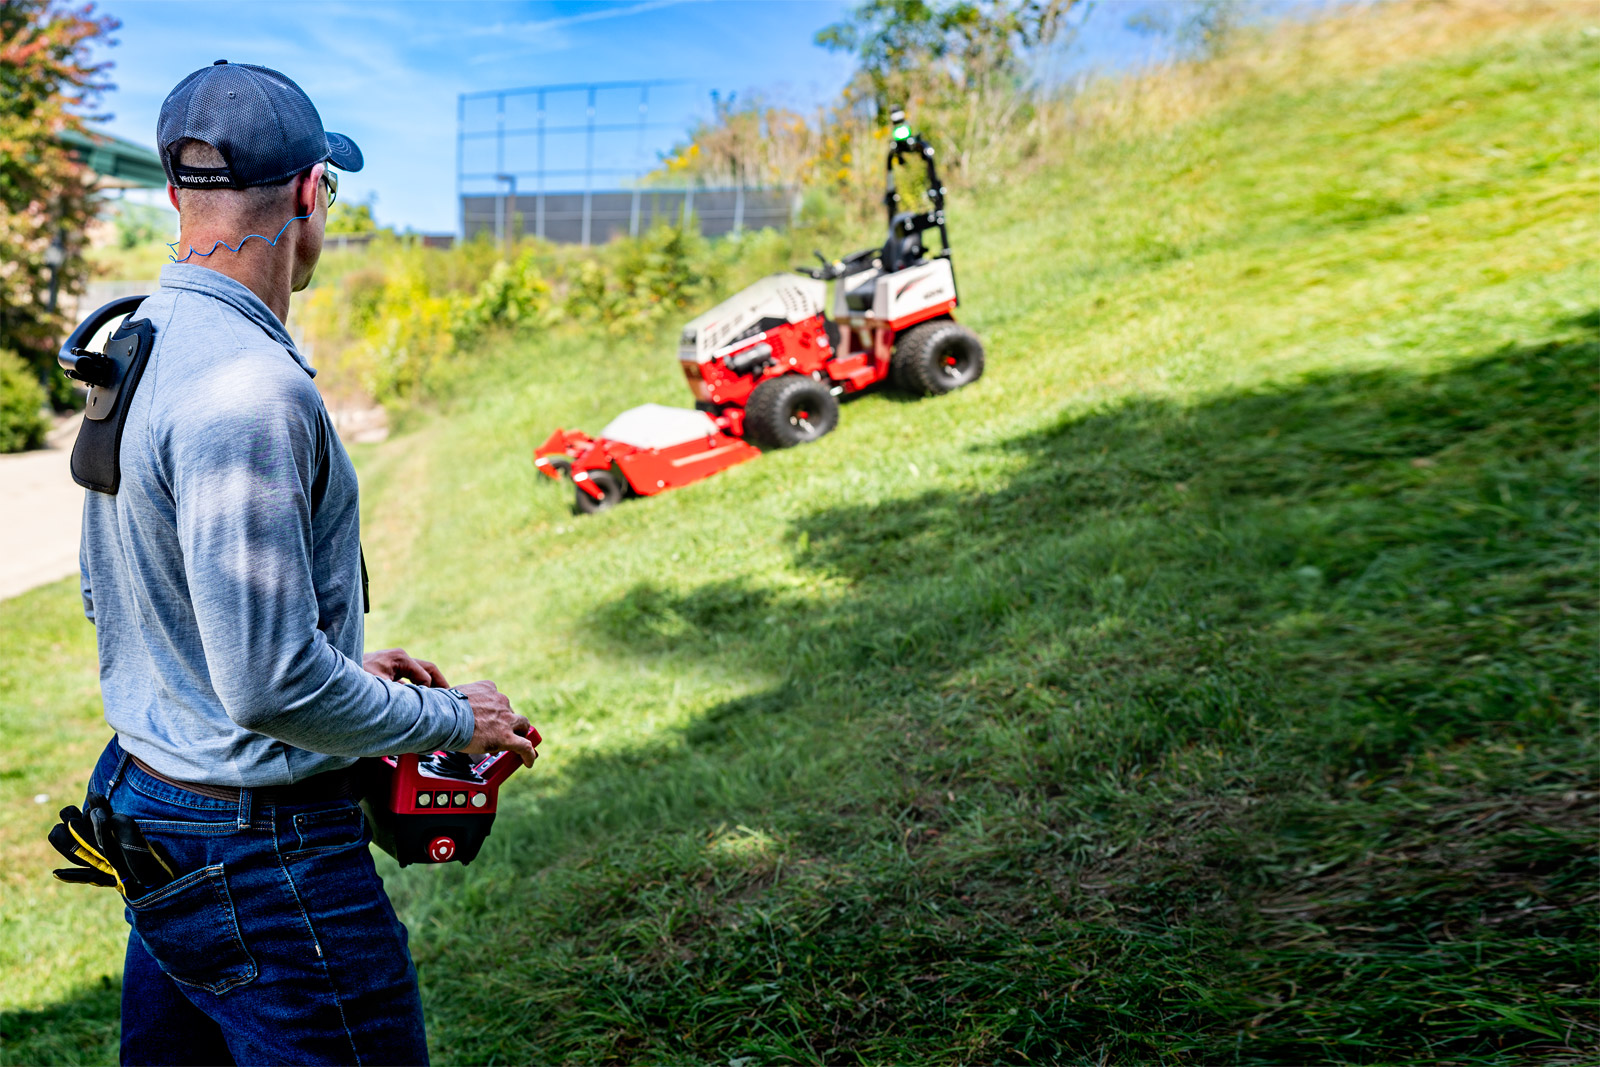
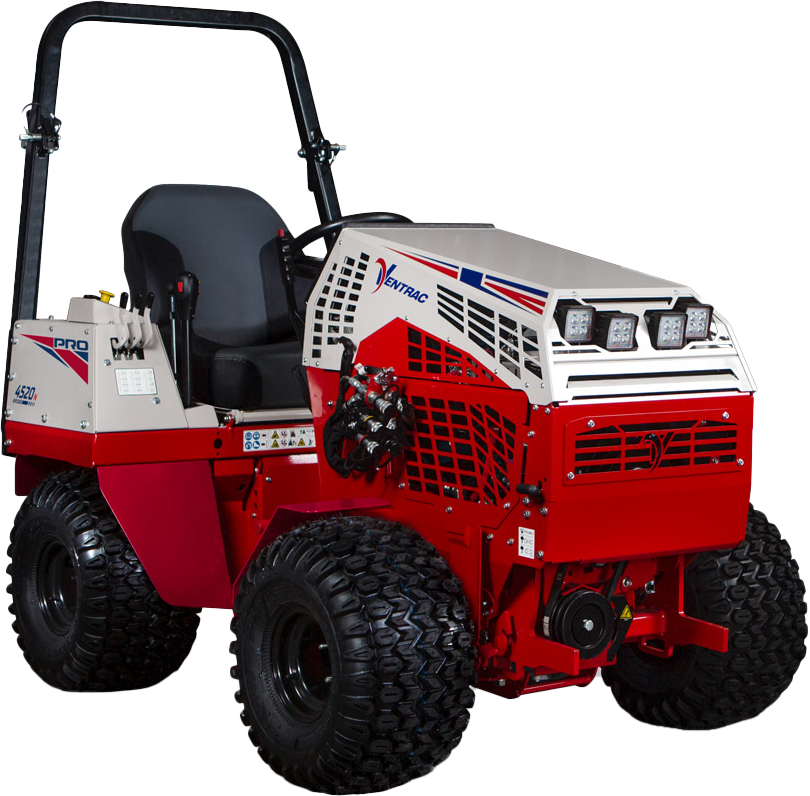
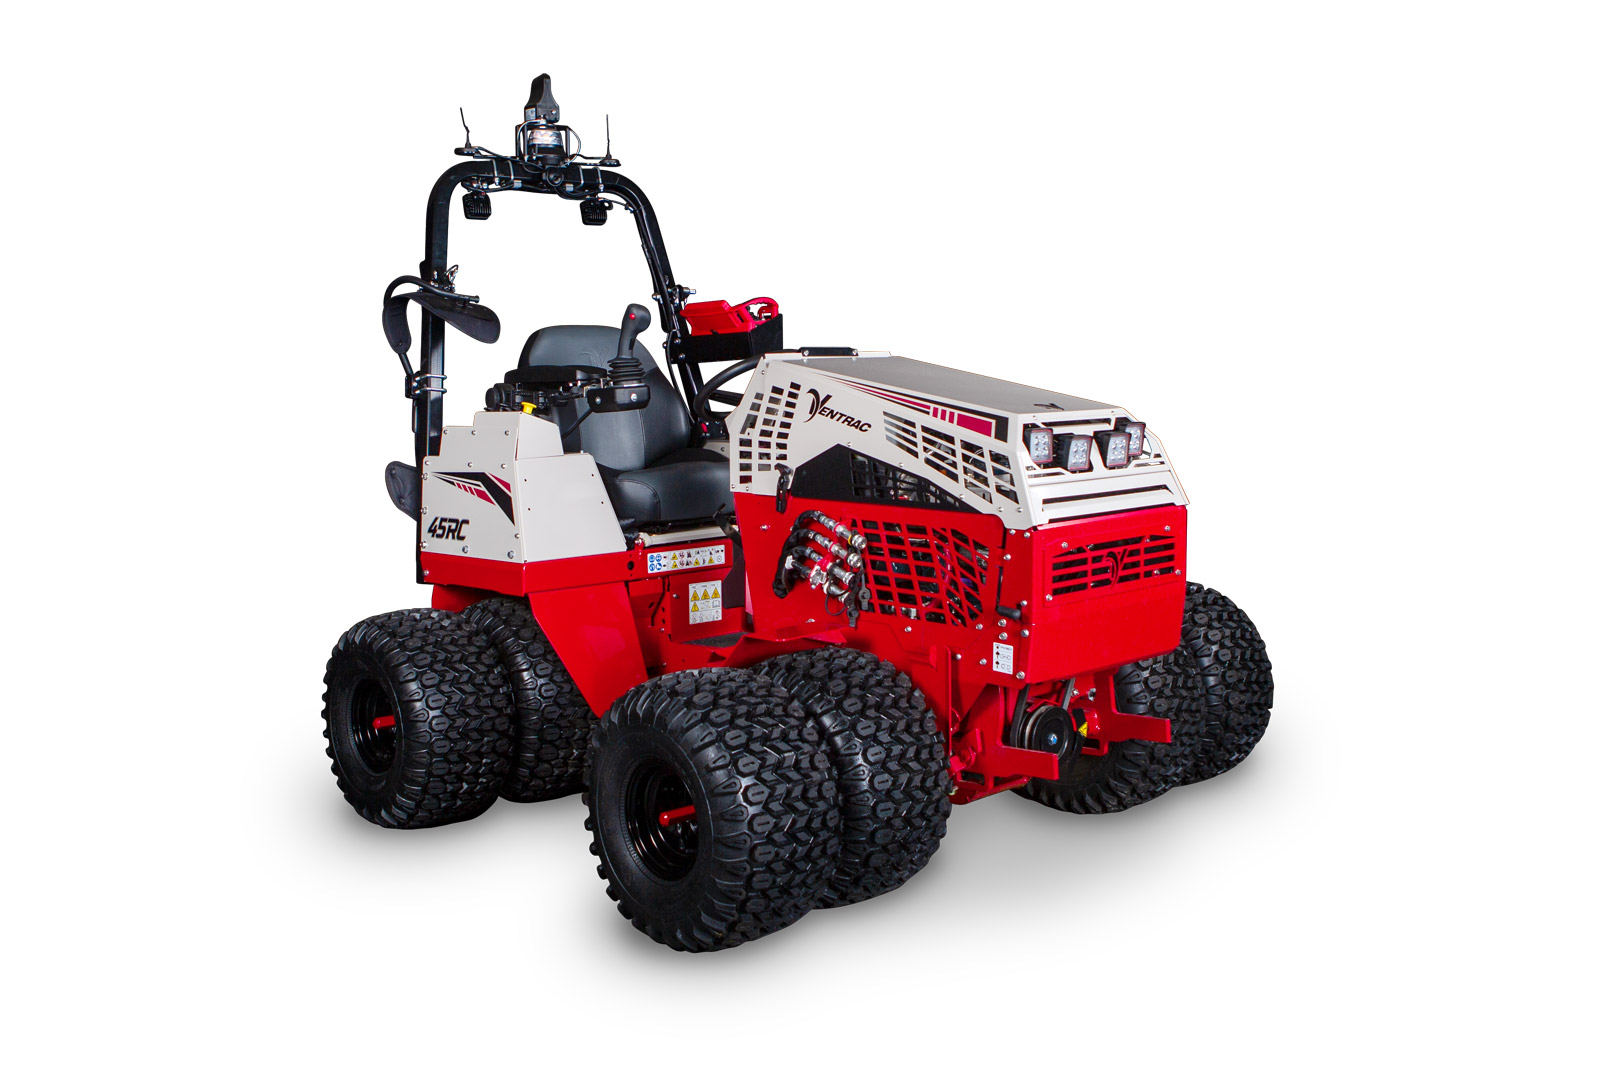
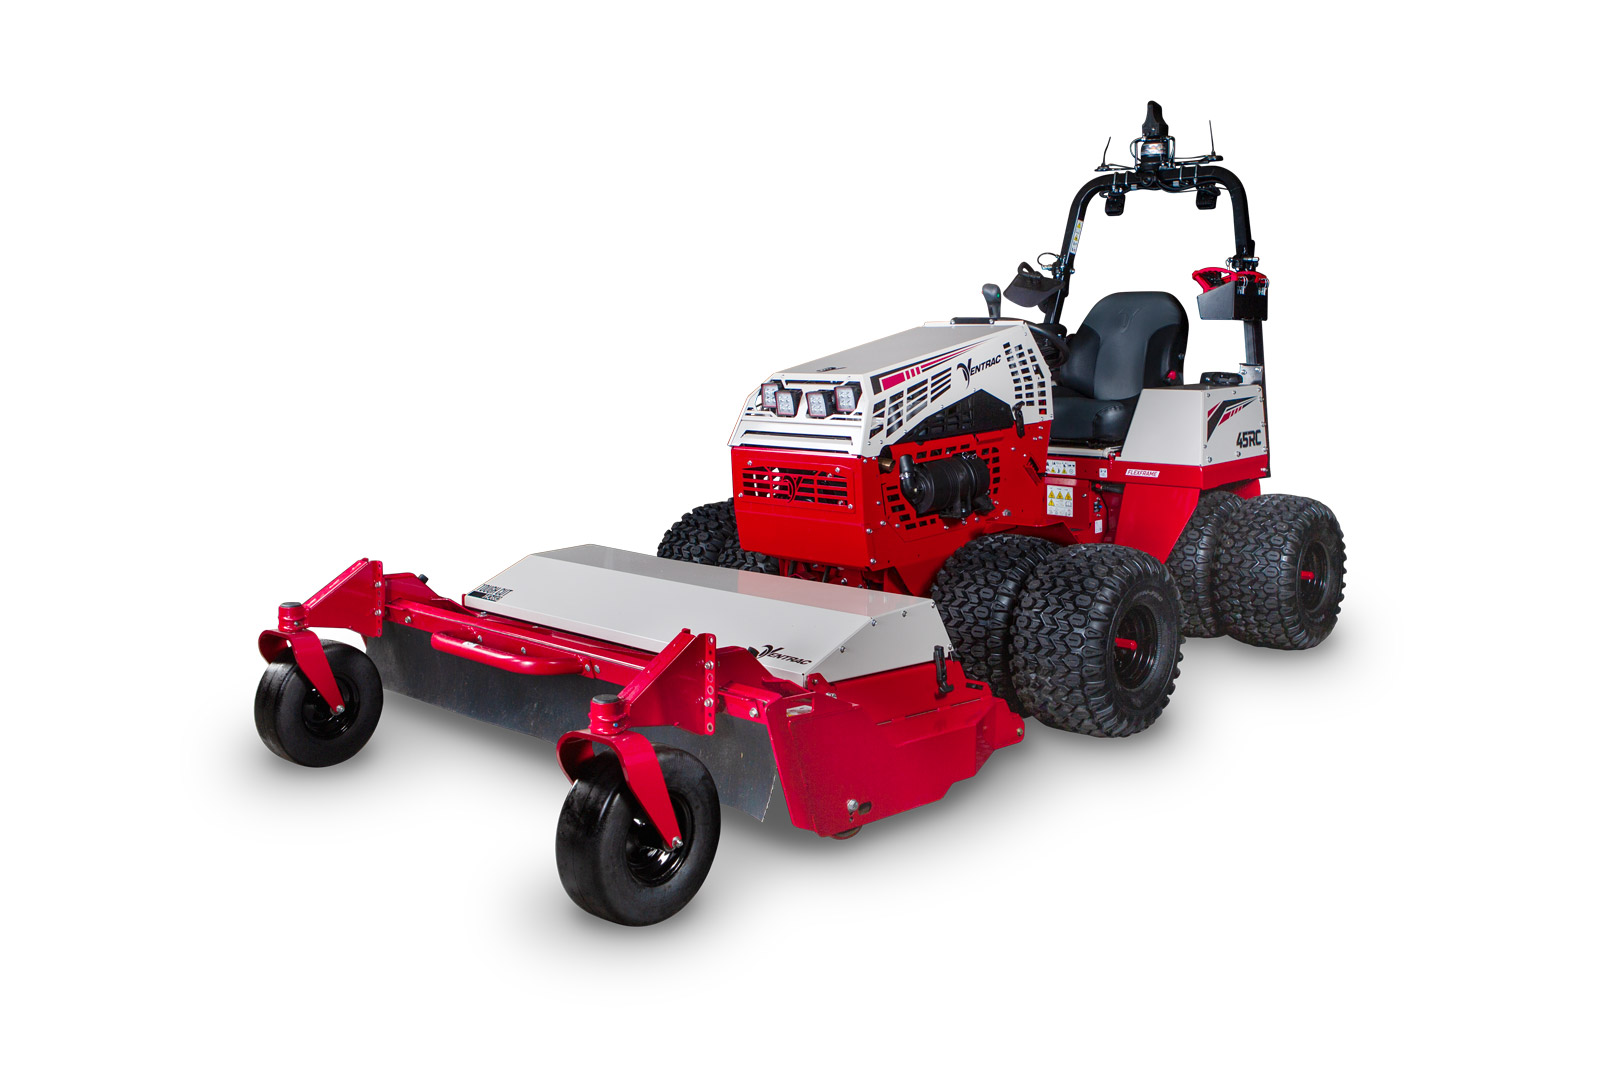
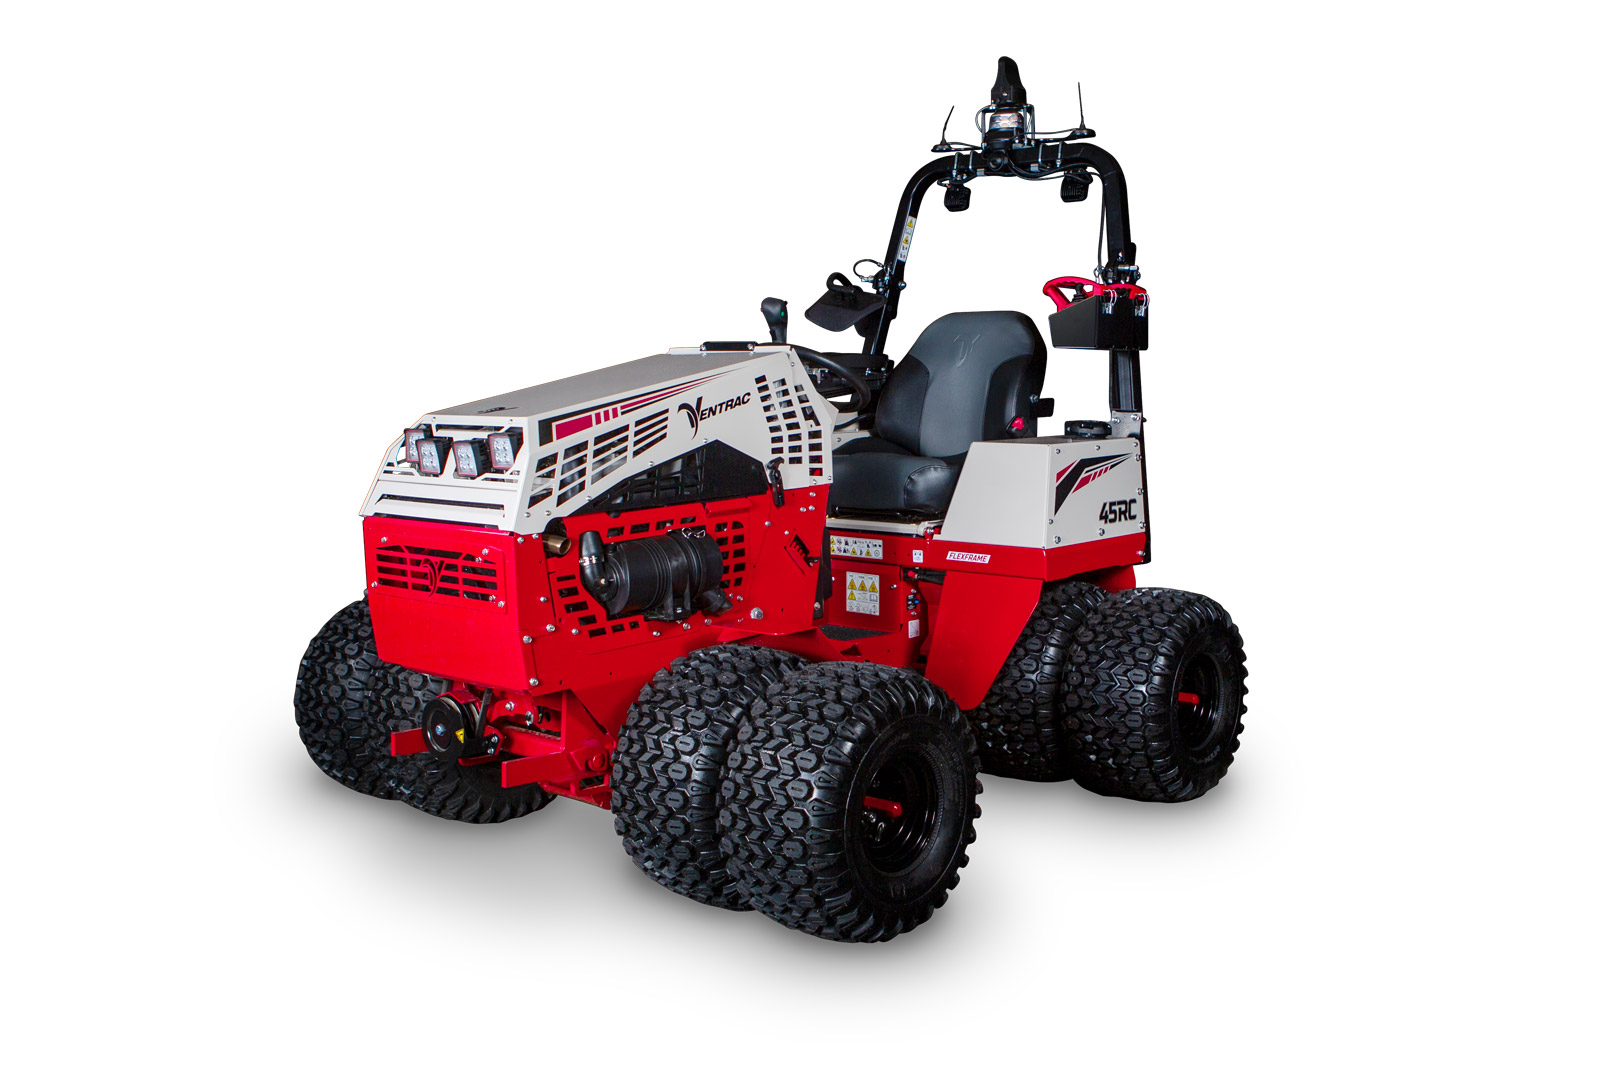
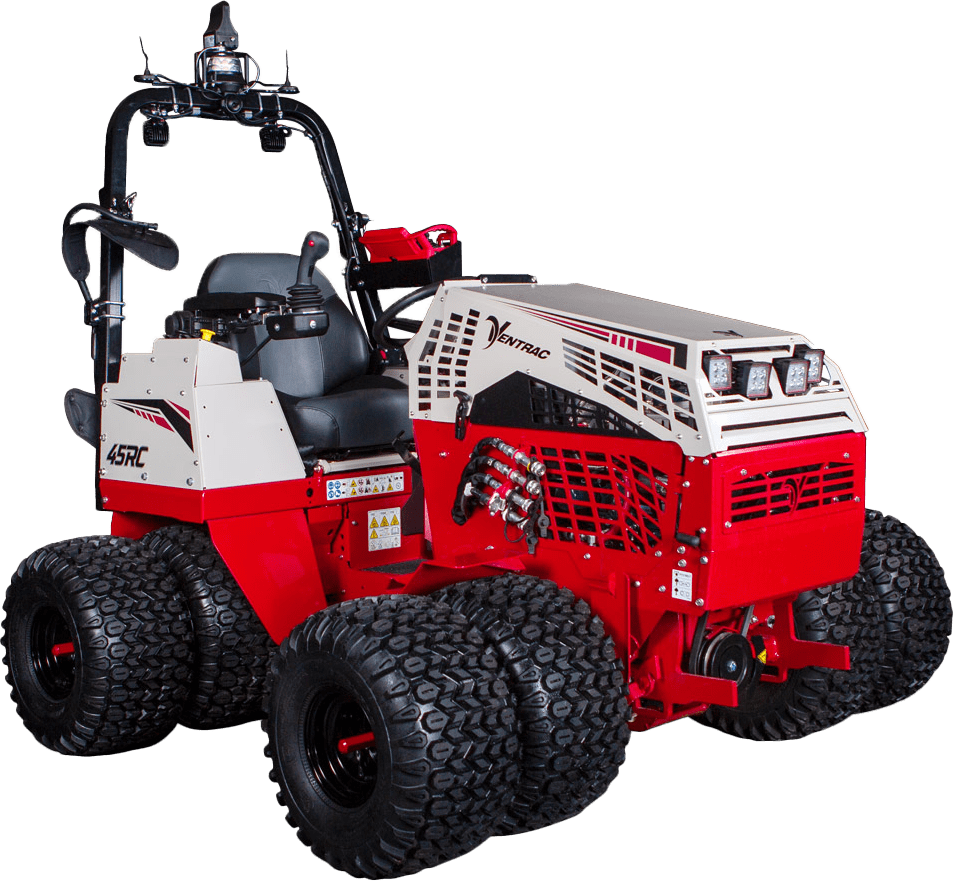
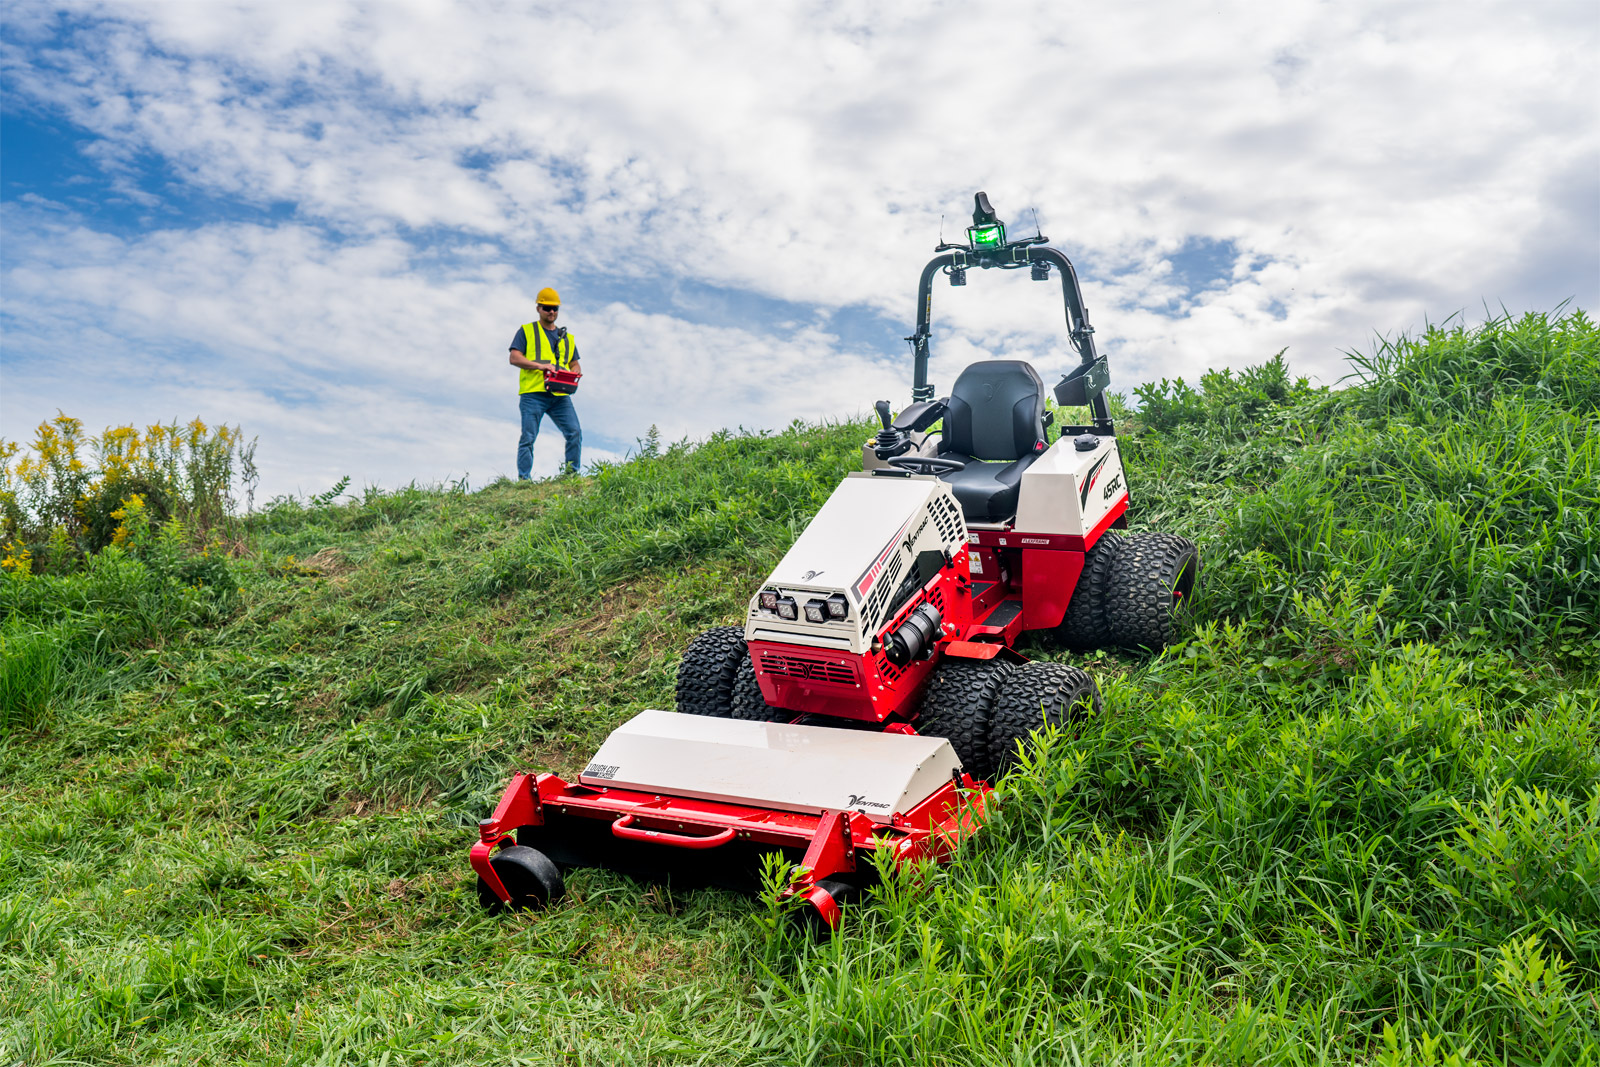
Our engineering team has pushed the limits of the renowned 4000 series slope mower and have developed the all-new Ventrac 45RC. Tackle steep terrain - whether you are in the seat operating or up to 500 feet away with the remote control.
Engine
Kubota
Remote Distance
500ft
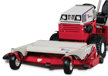
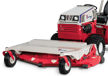
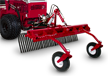
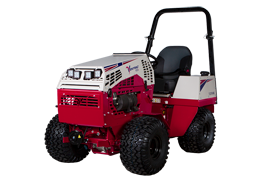
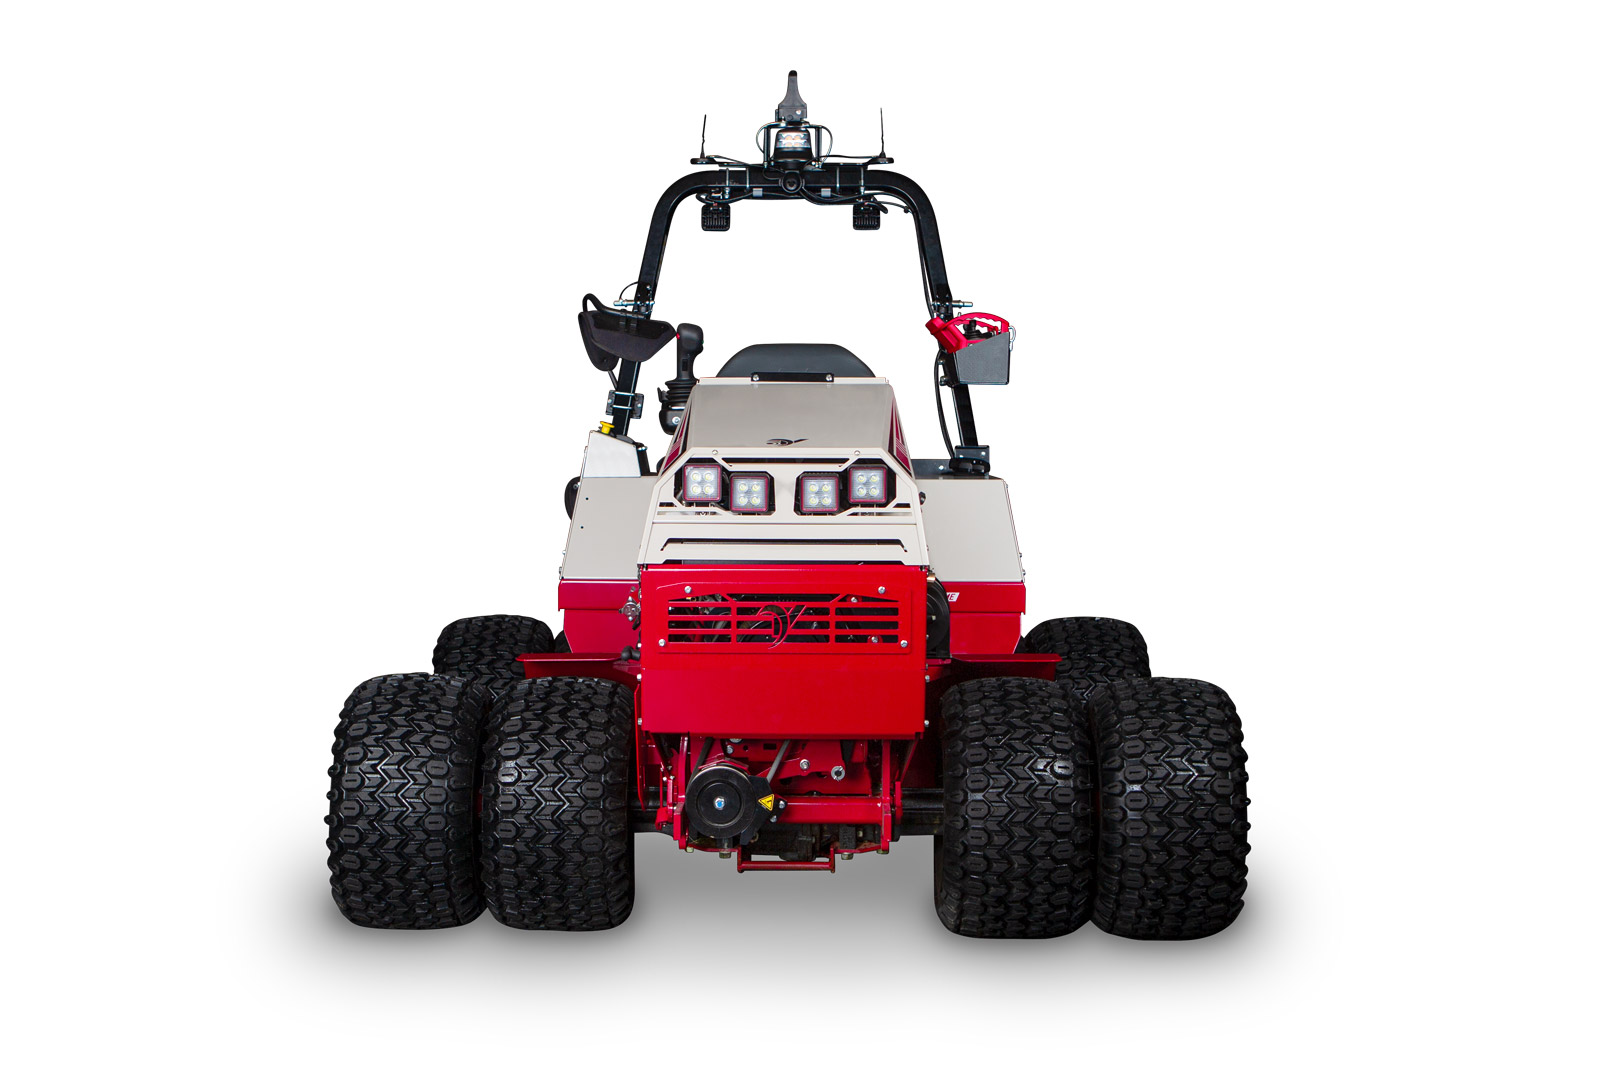
Terrain-Capable Chassis
Transports Fast, Protects Turf, Operates Smoothly
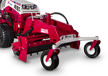
Camera Feed
In Remote Mode
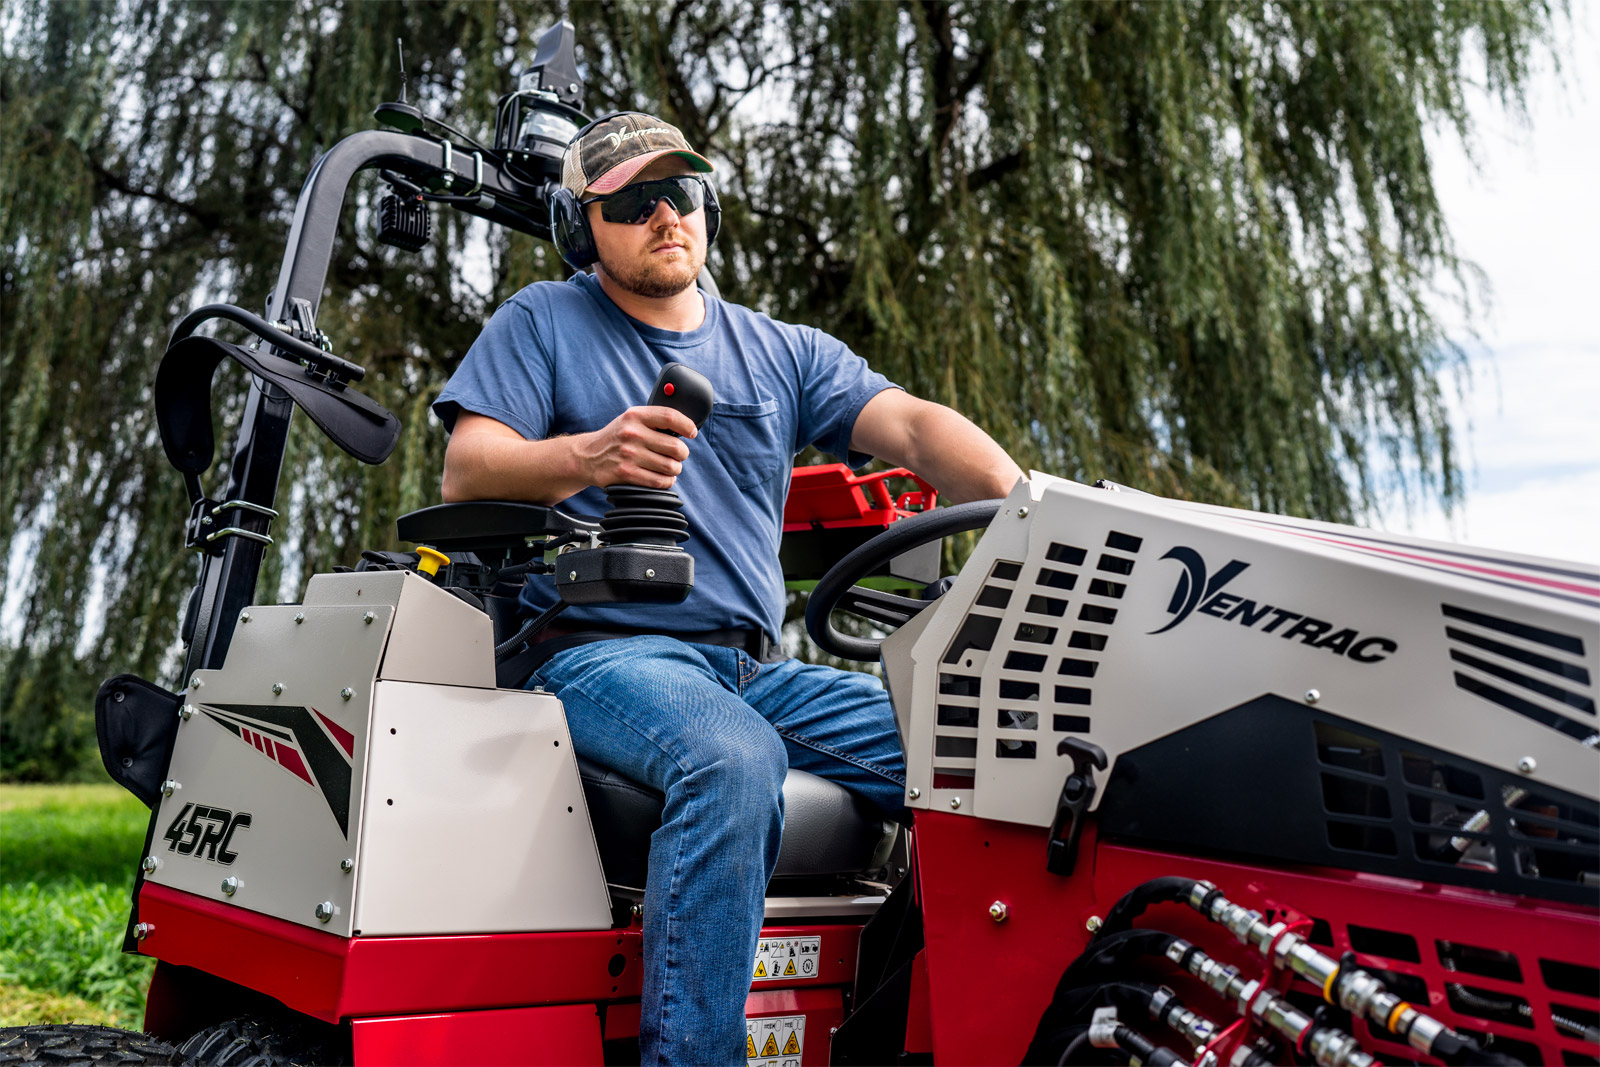
Dual Operation
Operator On & Remote
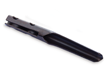
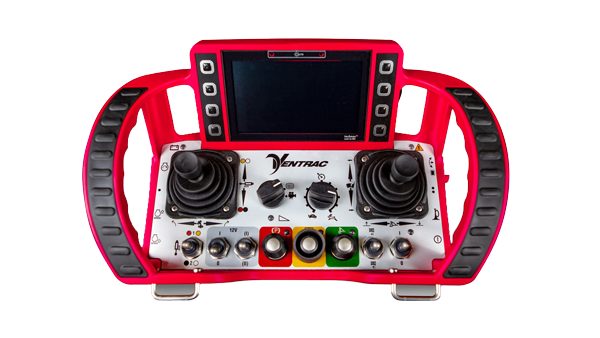
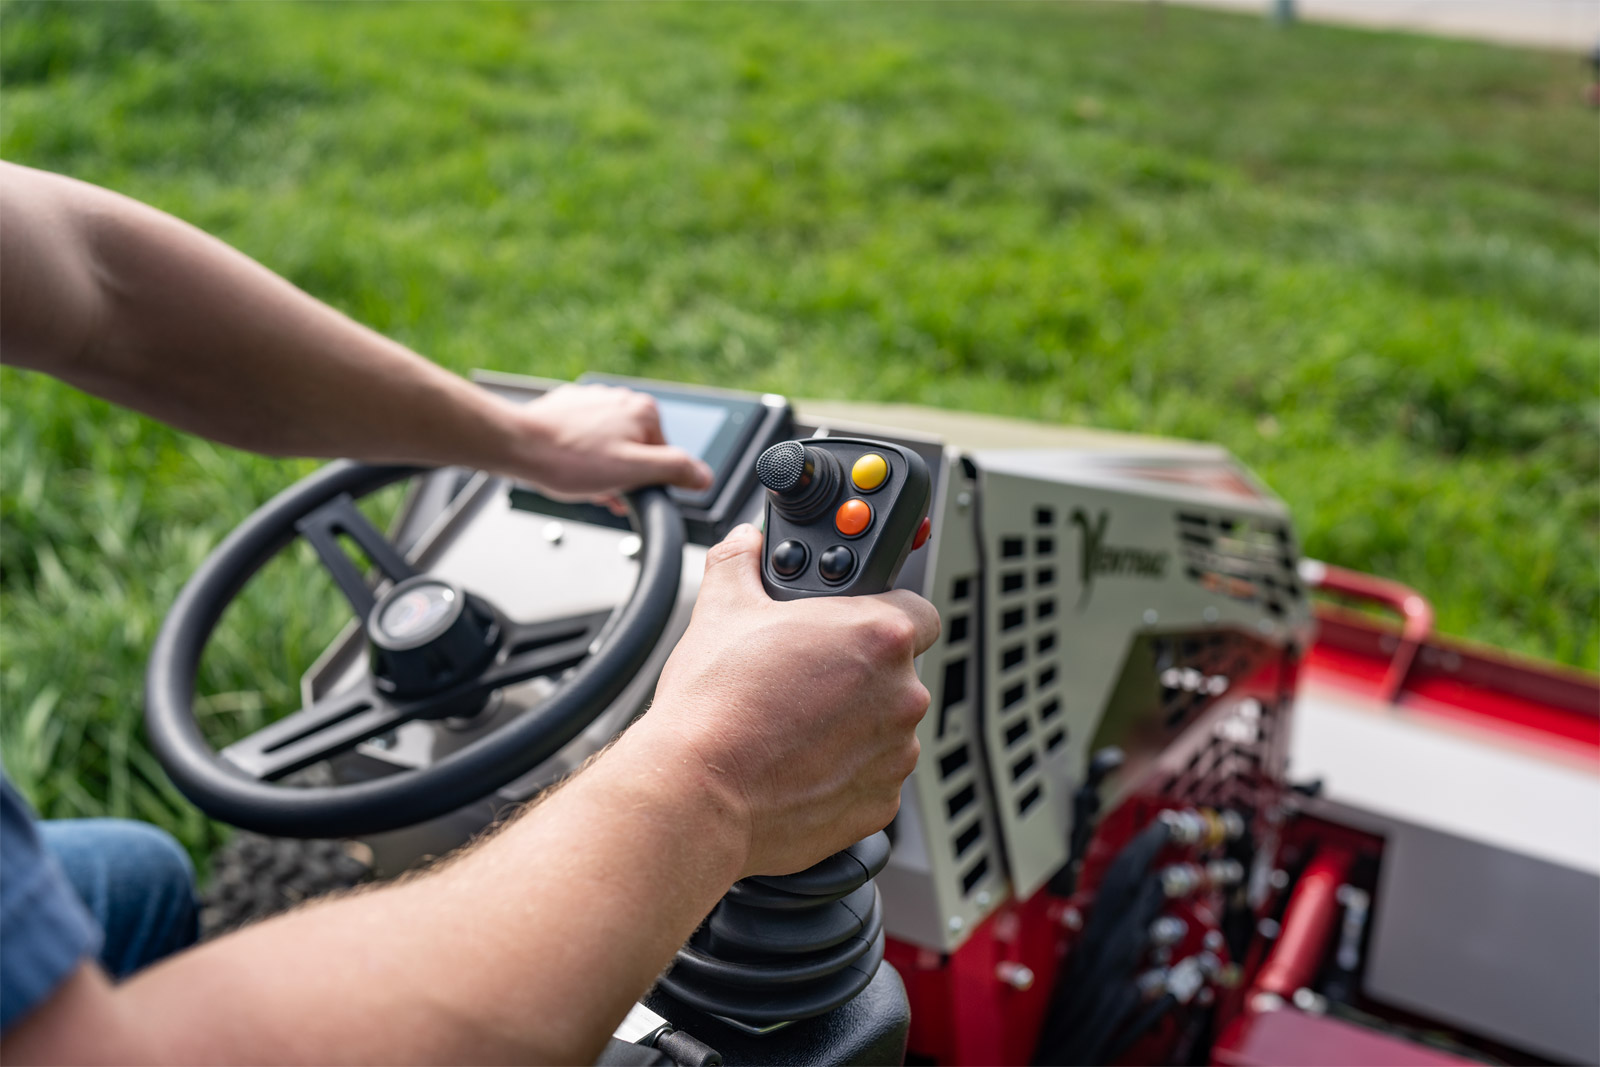
The Ventrac 45RC offers dual operation modes to meet the operator's needs. Intuitive joystick controls and an industrial-grade remote ensure precision and durability in demanding environments.This advanced system prioritizes both durability and operator comfort, enhancing the overall remote mowing experience.

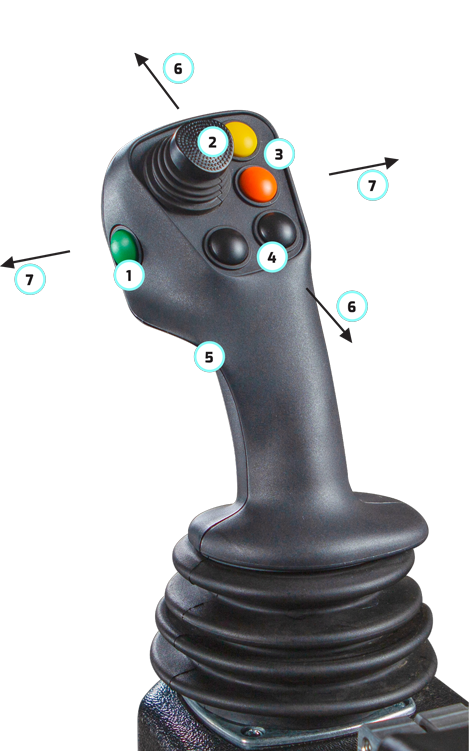
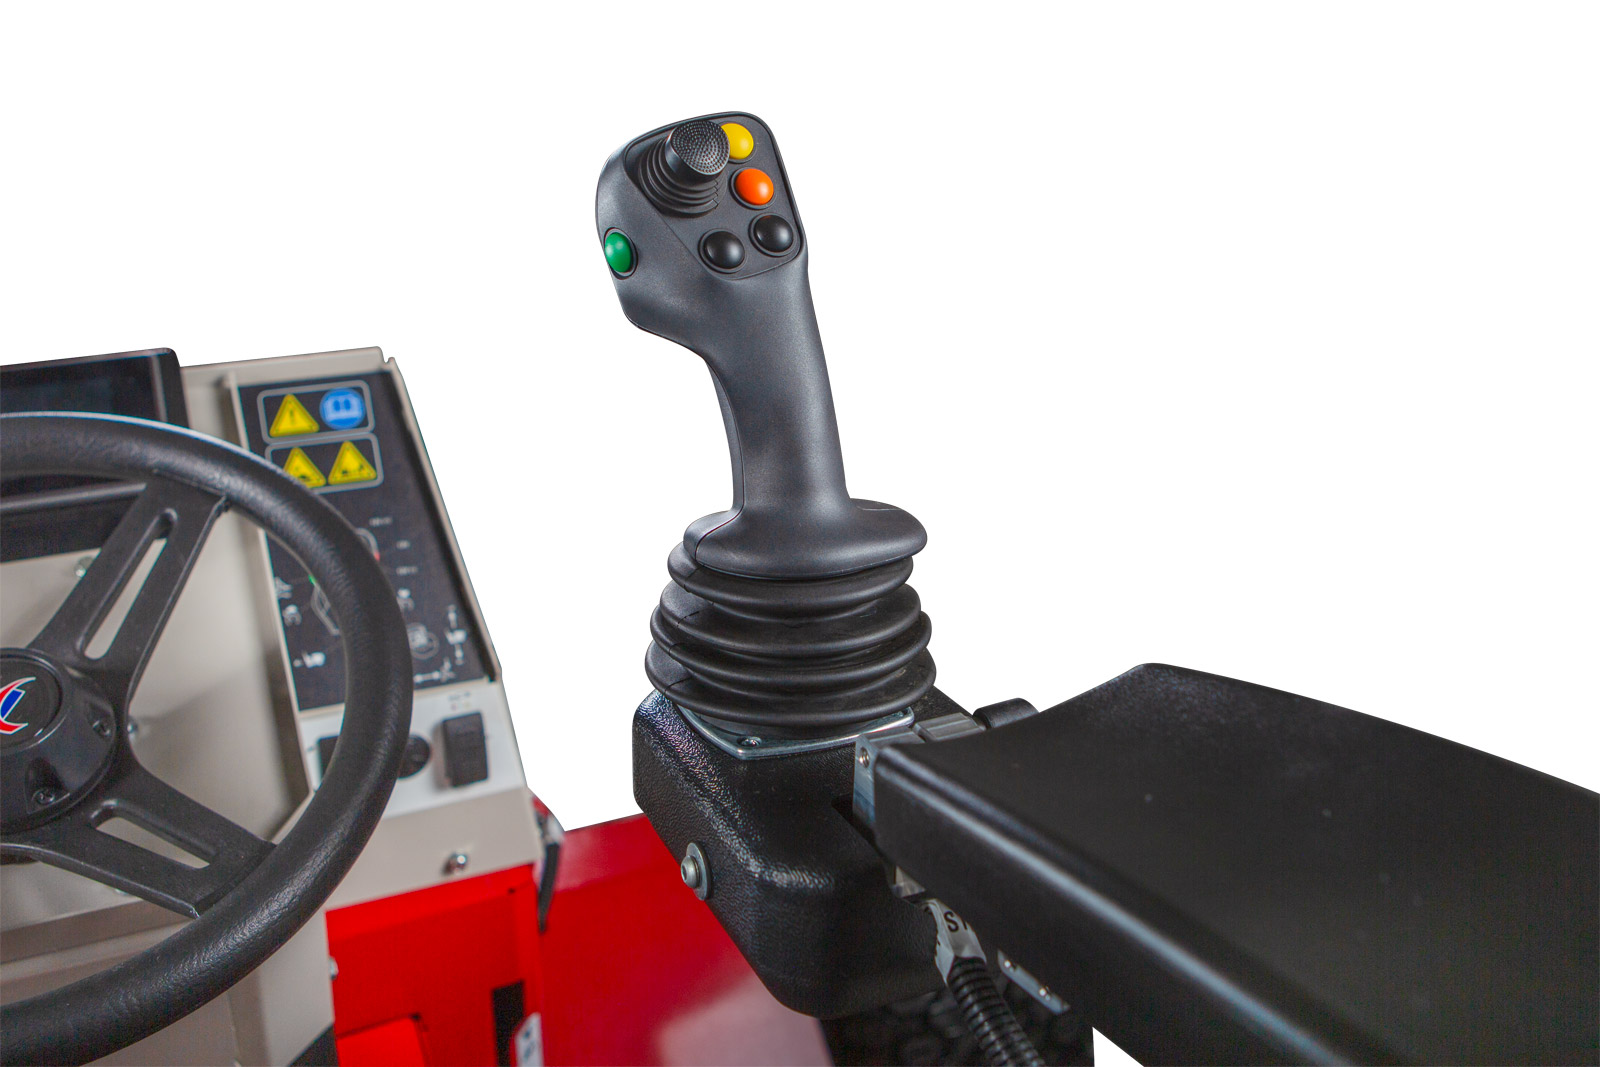
The green button on the left side of the joystick engages or disengages the float function of the front hitch.
The mini joystick controls the auxiliary hydraulic quick couplers. Forward and backward movement controls the set of quick couplers with the yellow and red indicators. Side-to-side movement controls the set of quick couplers with the black and white indicators.
The 12V buttons control the front 12 volt 4-pin plug.
The v-trim buttons decrease or increase the speed of the machine relative to the movement of the joystick. When the v-trim setting is decreased, the forward or backward movement of the joystick produces less machine speed. This feature allows for more precision when working in tight areas and can also be used to limit overall speed when learning the system.
The joystick is also equipped with a reverse confirmation trigger.
The forward or backward movement of the joystick controls the direction of the machine. The amount of forward or backward movement combined with the v-trim setting controls the ground speed of the machine. NOTE: the reverse confirmation trigger must be depressed before reversing the machine.
The side-to-side movement of the joystick controls the front hitch. Move the joystick to the left to raise the front hitch. Move the joystick to the right to lower the front hitch.
The right joystick controls the machine speed and direction of travel, along with raising and lowering the front hitch.
The forward or backward movement of the right joystick controls the direction of the machine. The amount of forward or backward movement combined with the v-trim setting controls the ground speed of the machine.
The side-to-side movement of the joystick controls the front hitch. Move the joystick to the left to raise the front hitch. Move the joystick to the right to lower the front hitch.
The left joystick controls the machine steering and the auxiliary hydraulic quick couplers.
Move the left joystick to the left or right to steer the machine left or right. The forward or backward movement of the left joystick controls the selected set of front hydraulic quick couplers.
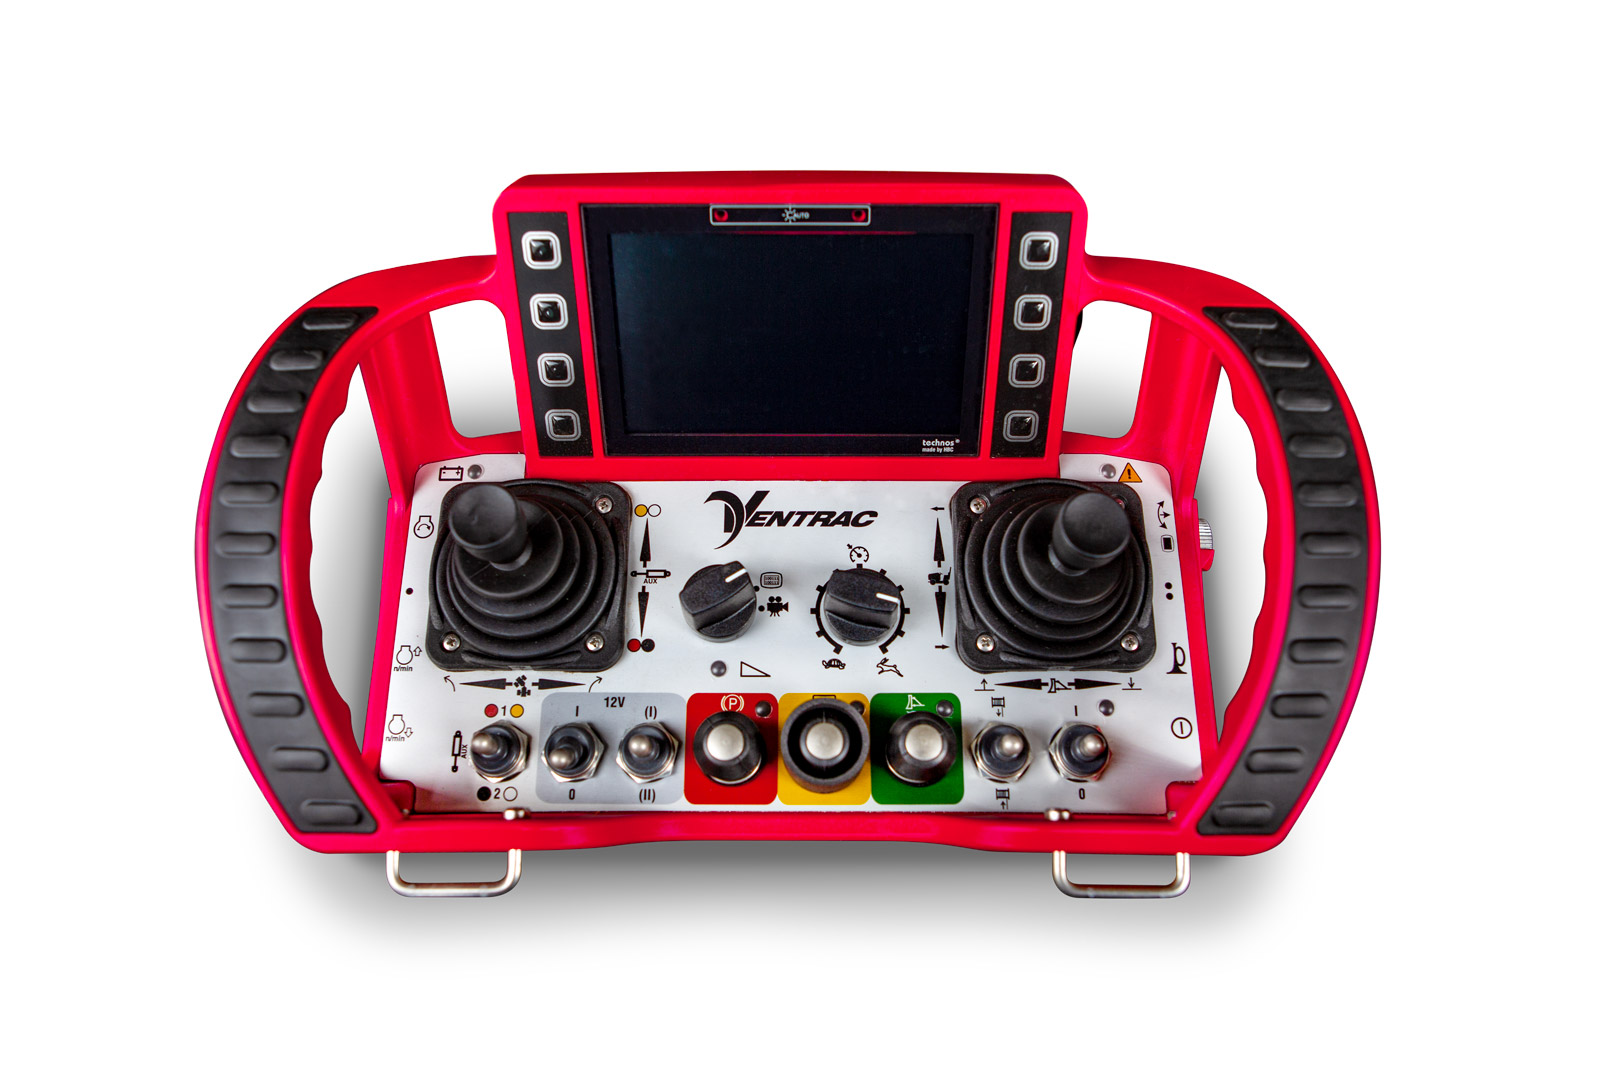
The start button is used to turn on and connect the remote control to the machine.
Press the horn button to sound the signal horn. The horn will sound until the button is released.
The multifunction switch can be rotated to scroll through the display menu and settings and pushed to make a selection.
Press the engine start button to engage the starter. Release the button when the engine has started.
Press the throttle up button to increase the engine speed.
Press the throttle down button to decrease the engine speed.
The display view selector switches the screen view between the standard machine status screen and the camera view (if equipped).
The auxiliary coupler selector switch toggles the auxiliary coupler control between the red and yellow couplers and the black and white couplers.
Move the switch forward to turn on power to the 4-pin front socket. Move the switch backward to turn off power to the 4-pin front socket.
Move and hold the switch forward or backward to turn on power to the 4-pin front socket. Release the switch to turn off the electrical power.
Press the switch to engage the parking brake. The light next to the switch will light up when the parking brake is engaged. Press the switch again to disengage the parking brake.
Press the switch to engage the electric clutch and send power to the front attachment. The light next to the switch will light up when the PTO clutch is engaged.
Press the switch again to disengage the clutch and stop the attachment.
Press the switch to engage the float function of the front hitch. The light next to the switch will light up when the float function is engaged.
To disengage the float function, press the switch again or raise the attachment off the ground.
Push the switch forward to spool out cable from the winch. Pull the switch backward to winch in the cable.
The v-trim dial decreases or increases the speed of the machine relative to the movement of the joystick. When the v-trim setting is decreased, the forward or backward movement of the joystick produces less machine speed. This feature allows for more precision when working in tight areas and can also be used to limit overall speed when learning the system.
The remote battery voltage light gives the operator an indication of the charge level of the battery in the remote control. The light will be green if the battery charge percentage is high and will change to yellow as the percentage lowers. The light will change to red when it is nearing complete discharge.
The fault light turns on as a visual indicator that there is a fault. If the screen is displaying the camera view, switch back to the machine status view to display the fault.
The parking brake light is displayed as green when the parking brake is disengages and turns red when the parking brake is engaged.
The PTO light turns on as a visual confirmation that the PTO is engaged.
The front hitch float light turns on as a visual confirmation that the front hitch float function is engaged.
The slope indicator light turns to warn the operator that the machine is on too steep of a slope.
The menu navigation buttons are used to navigate menus and make selections within the menus.
The emergency stop switch is used to stop the machine, shut off all machine functions, and engage the parking brake in the event of an emergency.
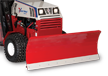
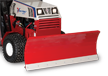
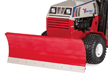
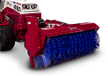
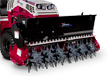
The following is the current list of approved attachments for the Ventrac 45RC tractor as of March, 2025. This list is subject to updates as additional attachments are approved. Please check back for future additions.